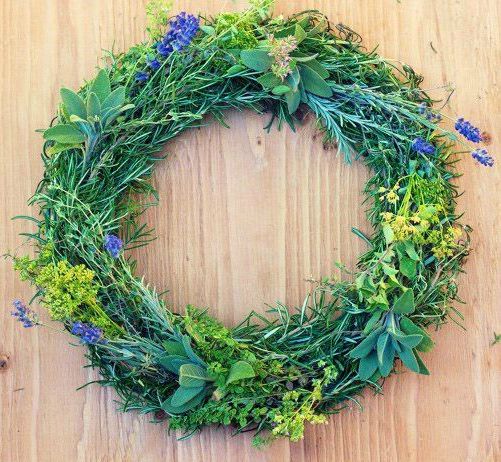
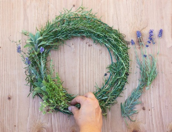
Starting An Herb Garden
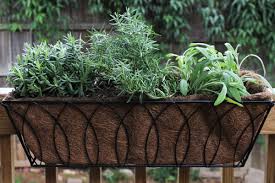
An herb garden doesn’t have to be big so you don’t need much space to grow one. You can even start a potted herb garden on your windowsill! This way you’ll have the aroma of fresh herbs right inside your kitchen or on your patio.
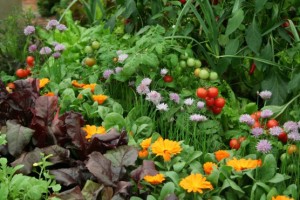
When growing herbs, location is key. Some like it sunny and dry, while others prefer filtered sunlight and moist soil. Regardless, make sure to use well-drained fertile soil. Most herbs will survive in poor sandy soil, but few will tolerate wet clay soil. If your yard is all sun, try planting shade-loving plants east of taller varieties like sunflowers. The tall plants will generate shade for the smaller ones.
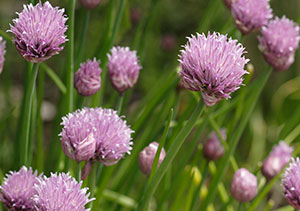
Basil, Chives, Dill, Oregano, Rosemary, Tarragon, and Thyme prefer full sun, while Chervil, Lemon Balm, and Mint prefer partial shade in your herb garden.
Water newly planted herbs regularly but once they are established, most are naturally drought resistant. Watering and drainage goes hand in hand. Rather give your herbs too little than too much water. After a good soaking, allow the water to drain away and the soil to dry out slightly. Water again when the top 1″ or so of soil is dry to the touch.
During the growing season fertilize about once a month with a weak solution of fish emulsion. Compost 4 times a year (at the beginning of each season, will also provide the plants with the nutrients they need. Don’t fertilize dormant plants, such as tarragon, some thyme and sometimes chives, just add a little compost around them and wait for them to wake up in the spring.
If you over feed your herbs and make them happy and beautiful they may lack some flavor. Hold back a little water and a little fertilizer to help concentrate the oils in the leaves thus increasing their flavor, aroma and medicinal value.
Pruning is essential to encourage healthy, bushy growth. Remove dead leaves and flowers on a regular basis. Should you frequently use your herbs, pruning may not be necessary, as you would be pruning automatically.
Be sure to let some of your herbs flower and ‘go to seed’, it will encourage good bugs, butterflies and hummingbirds into the garden.

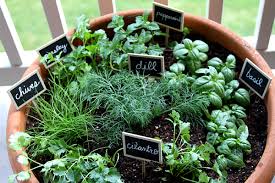
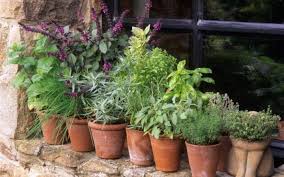 I know some of you aren’t gardeners but like to have some fresh herbs around for creative cooking. Now you can buy herbs in the market and remove some of the bottom leaves and store them in a vase changing the water every day or you could easily grow some major herbs in pots on your patio or railing. You could choose to grow them in one big pot or give each herb it’s own container (then it’s a little easier to change out the plants). You could plant seeds and tend to them as they grow but if you’re not into gardening start as transplants.