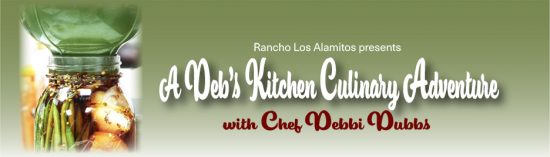
New Cheese Education & Demo Class with lunch
Take home a free copy of my book, A Little Book of Cheese
and a cool Chefs gift bag
Sat. March 25th 12-3
$125.00, BYOB
Menu:
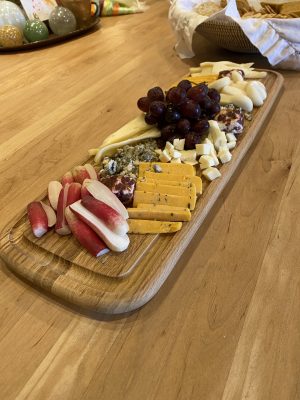
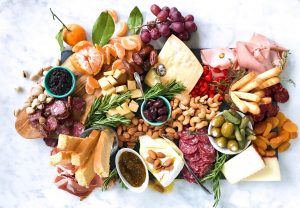
Charcuterie Board
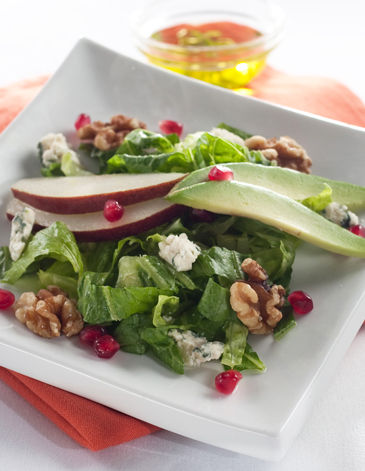
Spring Salad
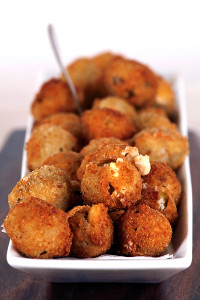
Cheese Stuffed Shells
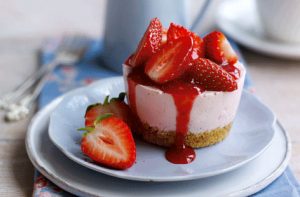
Ojai Pixie Tangerine Cheesecake
We’ll be serving one glass of wine with lunch as well but you’re welcome to bring your own!

Cheese and Charcuterie
Individually they are fantastic, but together they are even better! This exciting and informative class will teach you the principles of pairing the finest cured specialties with an incredible array of artisan cheeses to create a perfect match that’s all your own. There’s a delicious and tasty education coming your way
Class will be presented in a beautiful professional kitchen
Ethos Culinary
Carlsbad, Ca.
Address given with payment