Deb's Kitchen - Farm, Food, Wine & Lifestyle Adventures
  • Facebook
  • Google
  • Twitter
  • Instagram
  • Pinterest
  • Email
Menu
Skip to content
  • Home
  • Blog
  • Events
    • Classes
    • Tours & Adventures
  • Edible Gardening
  • Preserving
  • Recipes
    • Appetizers
    • Soups and Salads
    • Main Dishes
    • Side Dishes
    • Desserts
  • About
    • Whats In Your Pantry
    • Ask Debbi
    • Deb’s Kitchen Botanicals
    • Press
  • Contact

Tag Archives: cooking

Tricks for Simple Herb Gardens

3 / 19 / 1411 / 5 / 14

20100617onionflower copy

Starting An Herb Garden

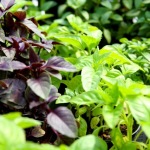
An herb garden doesn’t have to be big so you don’t need much space to grow one. You can even start a potted herb garden on your windowsill! This way you’ll have the aroma of fresh herbs right inside your kitchen or on your patio.

When growing herbs, location is key. Some like it sunny and dry, while others prefer filtered sunlight and moist soil. Regardless, make sure to use well-drained fertile soil. Most herbs will survive in poor sandy soil, but few will tolerate wet clay soil. If your yard is all sun, try planting shade-loving plants east of taller varieties like sunflowers. The tall plants will generate shade for the smaller ones.

Basil, Chives, Dill, Oregano, Rosemary, Tarragon, and Thyme prefer full sun, while Chervil, Lemon Balm, and Mint prefer partial shade in your herb garden.

Image 69

Water newly planted herbs regularly but once they are established, most are naturally drought resistant. Watering and drainage goes hand in hand. Rather give your herbs too little than too much water. After a good soaking, allow the water to drain away and the soil to dry out slightly. Water again when the top 1″ or so of soil is dry to the touch.

During the growing season fertilize about once a month with a weak solution of fish emulsion. Compost 4 times a year (at the beginning of each season, will also provide the plants with the nutrients they need. Don’t fertilize dormant plants, such as tarragon, some thyme and sometimes chives, just add a little compost around them and wait for them to wake up in the spring.

IMG_0237

If you over feed your herbs and make them happy and beautiful they may lack some flavor. Hold back a little water and a little fertilizer to help concentrate the oils in the leaves thus increasing their flavor, aroma and medicinal value.

Pruning is essential to encourage healthy, bushy growth. Remove dead leaves and flowers on a regular basis. Should you frequently use your herbs, pruning may not be necessary, as you would be pruning automatically.

Be sure to let some of your herbs flower and ‘go to seed’, it will encourage good bugs, butterflies and hummingbirds into the garden.

Chef Debbi will be presenting an Herbal Workshop On Sat March 22 at

Rancho Los Alamitos, Long Beach 10-12

For more info and to sign up click below

Rancho Sign Up

Leave a comment
Share
  • Pin it
  • Share
  • Tweet
  • Share
  • Email

Potato and Ham Quiche

2 / 22 / 14

Ingredients

Crust

1 1⁄4 cups flour

1 teaspoon salt

1 stick butter, cut into pieces

2 – 3 tablespoons ice water

Filling

1⁄4 cup finely diced ham

2 -3 Yukon Gold potatoes

1 1⁄2 cup shredded cheese, such as Chedderella

4 large eggs

1 1⁄2 cups heavy cream or half and half

1 – 2 tablespoons olive oil

Salt and pepper

Preparation

Crust

Add flour and salt into the bowl of a food processor; pulse a few times to incorporate all the ingredients.

Add the butter and process until the mixture is crumbly and the butter is pea size.

Place the mixture into a wide bowl and add water 1 tablespoon at a time until the mixture comes together. Don’t overwork the dough or it will be tough, not flaky. Once the dough comes together in a ball, divide it into two pieces, flatten into disks, wrap in plastic wrap and refrigerate for 30 minutes. Preheat oven to 400° while the dough is chilling.

Dough can be wrapped well at this point and frozen for up to three months. Let the dough defrost overnight in the refrigerator before using.

Roll one chilled disk out on a floured counter or rolling mat, lifting and moving the dough every few rolls to help prevent sticking. Add only enough flour to the counter to keep the dough from sticking.

Cut a piece of parchment paper to fit the bottom of the tart pan.

Place your pan on top of the dough to make sure it is the correct size, it should be slightly larger than the pan, then roll the dough onto your rolling pin and unroll over your pan. Gently lift and lay the dough to fit the pan, never pull the dough to stretch it.

Lightly press the dough into the pan, roll your rolling pin over the top edge of the tart or pie pan and remove excess pastry. Prick the dough well with a fork.

Cut a piece of foil a little larger than the tart pan, butter the shiny side and place butter side down onto the dough. Press so the foil lays against the dough snugly, add another piece of foil if it doesn’t cover the entire crust.

Bake the crust for 20 minutes, remove beans and foil, bake another 5 minutes. Remove from oven and cool before filling. (Leave oven on).

Filling

Boil potatoes until knife tender (when a knife can slip into the potato effortlessly with a little resistance). Drain and let cool until you’re able to handle them. Slice into disks or chop into a medium dice.

Heat a medium sauté pan, add oil until it covers the bottom of the pan, add potatoes and season with a pinch of salt and grind of pepper. Sauté potatoes until lightly browned, add ham and cook for about 2 minutes or until browned. Add potato mixture to the bottom of the cooled crust. Add cheese on top of the potato mixture.

Whisk together the eggs and cream, add a little seasoning of salt and pepper, pour over potato and cheese mixture, bake for 30 minutes or until puffed and lightly browned.

Let cool before serving.

Leave a comment
Share
  • Pin it
  • Share
  • Tweet
  • Share
  • Email

Potatoes, Onions and Tomatoes – Plant Stand

2 / 21 / 14


Grow Your Own

Potatoes, Onions, Tomatoes!


  Sat. Feb 22nd
Free ~ 10 a.m. 
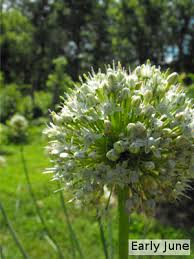
Onion Flower
Join us for a little conversation and a tasty treat!
The Plant Stand
2972-A Century Place
Costa Mesa, California 92626-4324
Toll Free: (800) 698-1077
Local: (714) 966-0797  


Leave a comment
Share
  • Pin it
  • Share
  • Tweet
  • Share
  • Email

How to Make Mashed Potatoes

11 / 27 / 1311 / 5 / 14

How to Make  Mashed Potatoes!

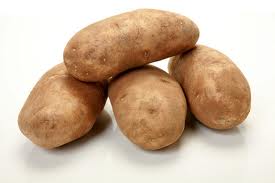
 russet potatoes

 (Easy Peasy)

1 medium organic* russet potato person

1 tablespoon Kosher salt

1 -2 tablespoons butter, REAL BUTTER, unsalted

1/2 cup milk (cream if you want to be decadent, or mix the two)

Sea Salt and pepper

1 tablespoon sour cream, optional

1 teaspoon chives, optional

1 tablespoon grated cheese, optional


Wash potatoes and then cut into large chunks, place into a large saucepan and cover with cool water. Add a tablespoon of Kosher salt, bring to a boil and cook until fork tender, about 15 minutes. 

Heat the butter with the milk (I use the microwave). If you use the microwave wait to heat until the potatoes are cooked. Drain the potatoes and peel the skin off with tongs. For creamy soft mashed potatoes slip through a ricer into the still hot saucepan that you cooked them in (without any water!) If you don’t have a ricer just put the chunks back into the pan, place on the stove over low heat for a minute or two. This helps to dry them a little further so they absorb the butter and milk more evenly.mash


Add enough butter and milk (or cream) to the potatoes and lightly mashed with a potato masher, they should come together easily. Don’t overwork the potatoes or they can turn gummy. Season with sea salt and pepper to taste and add any optional ingredients, serve.

If you’re making potatoes for a crowd they can be made about 1 hour ahead of time and kept warm on low in a preheated slow cooker! (I don’t remember where I learned that trick but thank you to whoever it was that shared it)


*Organic potatoes, all kinds of pesticides and sprays are used on conventional potatoes to keep bugs from eating them while they grow. Then to harvest them and finally to keep them from sprouting in the store. Choose organic for your health.


2 Comments
Share
  • Pin it
  • Share
  • Tweet
  • Share
  • Email

Apple Harvest

10 / 23 / 13

apples

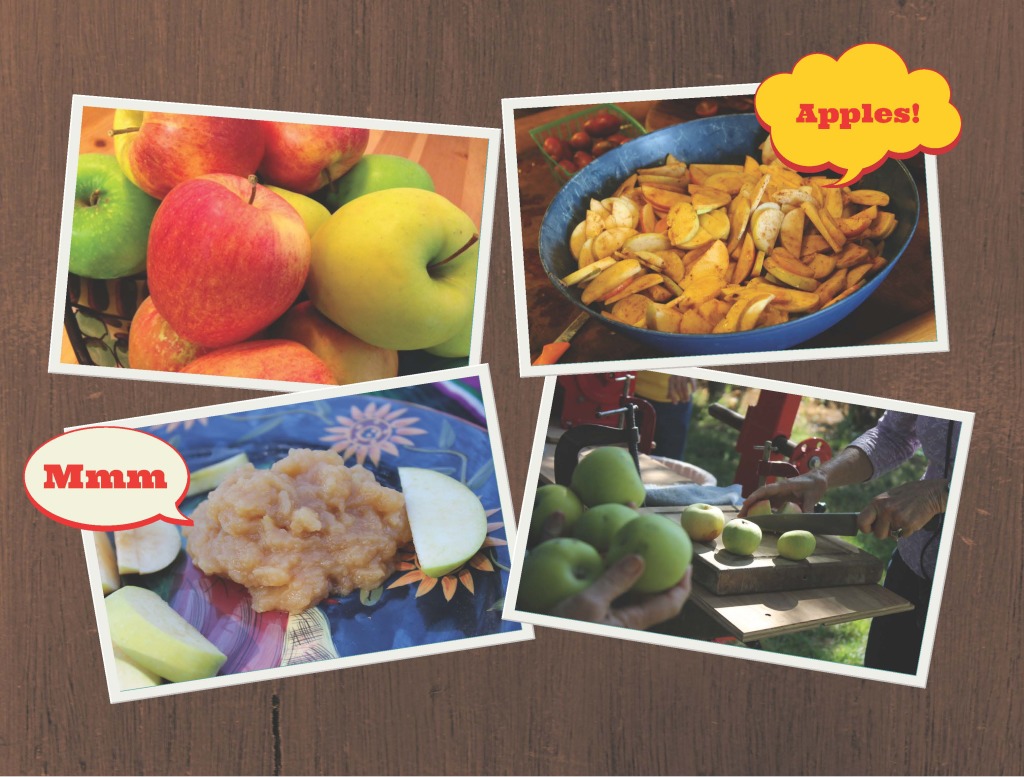
As summer begins to fade away and the feel of fall comes creeping in so does some wonderful fruit, pomegranates, all kinds of citrus, apples and eventually pears. Have you ever been apple picking? With the smell of apples lightly scenting the air, it’s intoxicating. So too is the smell of apples being prepared in a myriad of recipes for the fall. Do you know which apples are best for cooking, how to choose and store them?

Here are a few guidelines and some recipe suggestions. An apple a day keeps the doctor away may be just another saying but there is some truth behind that. Apples are the ultimate fruit, low in calories with no fat, sodium or cholesterol. The pectin in apples actually helps to dissolve the cholesterol in ones blood stream. High in fiber, anti-oxidants, potassium, niacin and a variety of vitamins, apples are a near perfect fruit.

Choose organic apples as apples have topped the Environmental Working Groups ‘Dirty Dozen’ list, which identifies the most pest laden fruit and vegetables. You’ll want to eat the skin of the apple as disease-fighting pectin (fiber) lies directly under the skin.

  • Select firm fruit with no bruises or scars and treat them gently.
  • Don’t wash your apples until you’re ready to use them.
  • Keep them in a cool place, your fruit drawer of the refrigerator is fine but don’t store with other fruit. Apples give off a gas, which will ripen you’re other fruit faster. Some apples will keep weeks in the refrigerator. They will keep a few days on the counter.

Apple Variety Guide

 Cooking Apples

  • Ambrosia
  • Braeburn
  • Cameo
  • Golden Delicious
  • Honeycrisp
  • Jazz
  • Jonagold
  • Jonalicious
  • Jonathon
  • McIntosh
  • Pink Lady
  • Red Delicious

For more information on apples or to order some types not available in your regular market check Melissa’s Produce here (click).

Leave a comment
Share
  • Pin it
  • Share
  • Tweet
  • Share
  • Email

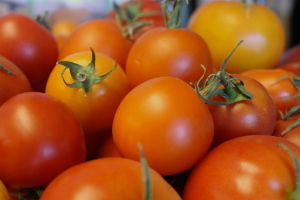
What do you do with a bumper crop of tomatoes?

8 / 27 / 13

IMG_1189I usually freeze my tomatoes until I have time later to make sauce, ketchup or just can some chopped tomatoes for later use. (I freeze them by washing and drying them, placing them on a baking sheet and freezing until solid. No, I do not peel or seed them as the skin comes off easily when they are defrosted. Once frozen, I place into an airtight freezer bag and return to the freezer. This allows me to defrost one or ten, however many I need at the time.)

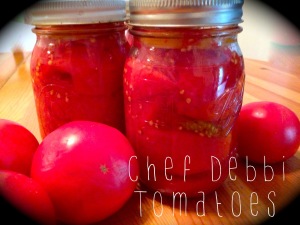
I like to do ‘small batch’ canning, which means I can do a few jars at a time. Of course when my tomatoes come in all at once, I haul out the big canner and fill it up. The basic procedure for canning small or large batches is the same only the equipment varies slightly. If I’m canning a small batch instead of the big canner, I can usually use a large stockpot, deep enough for the water to cover the jars by 2″. I use a cake rack for the bottom of the stockpot so the jars don’t sit on the bottom of the pot where they could possibly break. That’s it!

Tomatoes-I do not peel or seed my tomatoes, just pack them raw
Tomato juice (you could also use hot water)
Lemons
Sea salt
Fresh herbs, optional

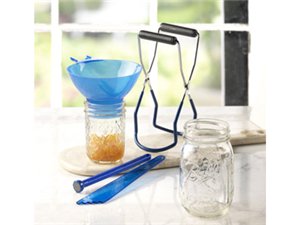
383374For Processing Tomatoes You will need:

  1. A stockpot or regular canner (tall enough so the jars are submerged by 2″ while processing)
  2. A rack for the bottom of the stockpot or canner
  3. Canning lifters (for jars & for lids), wide mouth funnel
  4. Canning jars, lids and screw bands
  5. Several clean tea towels
  6. Baking sheet

Place the rack in the bottom of your stockpot. Make sure to choose a deep enough pot so that the jars will be covered 2″ of water.

Fill the pot with water and begin to bring to a boil. Line a baking sheet with a clean tea towel.

Wash and dry the jars, lids and screw bands. Place lids into a small saucepan with hot water.

Prepare tomatoes by washing and lying out on a towel to air dry (they don’t have to be totally dry). If desired, cut tomatoes into quarters and set aside. I don’t peel or seed my tomatoes before packing as the skin comes right off when I take them out of the jar. If I don’t want to use the seeds, I simply strain them out.

Heat jars by placing them into the stockpot while you bring the water to a boil. Remove them to the cloth lined baking sheet when you are ready to fill with tomatoes. (The water in the stockpot should be boiling or very close to it).

Place one or two slices of lemon on the bottom of your jar.

Fill your jars with tomatoes, really squish them in there, and use a wooden spoon to smash them down. Add a sprinkle of sea salt and a tablespoon of lemon juice (from a real lemon). You can also add herbs such as basil, thyme or parsley. Using a plastic knife or chopstick, slide it down the side of the jar removing any air bubbles. Add tomato juice to cover the tomatoes and a slice of lemon at the top of the jar before sealing. Leave a 1/2″ headspace.

IMG_0807Wipe the top of the jar, removing any debris from the screw area and the top of the jar. Place the lid and the screw top on the jar, closing only finger tight, and place on the rack in the canner or stockpot. Make sure the jars are covered by 2″ water, bring to a boil and time for 40 minutes (for pints) or 45 (for qts). The water must be boiling the entire 40 minutes or you’ll need to restart the timer from the beginning. Remove to a cloth lined baking sheet and let cool for 24 hours before moving.

After 24 hours, if the center of the lid still moves up and down the jar has not sealed properly. You can reprocess this jar once or just put it in the refrigerator and use within a few days.

Related Posts Plugin for WordPress, Blogger...
2 Comments
Share
  • Pin it
  • Share
  • Tweet
  • Share
  • Email

Posts navigation

Previous Page 1 2 … 11 12 13
Deb

Meet Chef Debbi

READ BIO

Join-Us Sign up for our newsletter to receive exclusive tips 'n tricks, and special offers on classes, tours, and more!

Recent Posts

  • New E-Book!
  • From the Pantry
  • Spaghettini at Home
  • Growing Corn
  • Spring IS Coming!

Categories

BookCUT

What's in Your Pantry?

How to stock your pantry to create delicious dishes.

Learn Chef Debbi's pantry essentials and how to substitute ingredients for pantry staples in her basic recipes for quick and easy meals.
BUY BOOK>

FacebookTwitterInstagramGooglepinterest


© 2014, DEB'S KITCHEN
Angie Makes Feminine WordPress Themes