Deb's Kitchen - Farm, Food, Wine & Lifestyle Adventures
  • Facebook
  • Google
  • Twitter
  • Instagram
  • Pinterest
  • Email
Menu
Skip to content
  • Home
  • Blog
  • Events
    • Classes
    • Tours & Adventures
  • Edible Gardening
  • Preserving
  • Recipes
    • Appetizers
    • Soups and Salads
    • Main Dishes
    • Side Dishes
    • Desserts
  • About
    • Whats In Your Pantry
    • Ask Debbi
    • Deb’s Kitchen Botanicals
    • Press
  • Contact

Tag Archives: grilling

BBQ Grilled Chicken

8 / 9 / 19


BBQ Grilled Chicken

Save
Print
  • 4 pounds organic chicken pieces on the bone with skin
  • 1 tablespoon sea salt or more
  • fresh ground pepper
  • 1 sprig thyme, remove leaves
  • ¼ cup chopped sage
  • 1 lemon zested and juiced

If you can’t find chicken pieces on the bone now is a great time to learn how to cut up a chicken. An organic chicken is likely to be somewhat smaller than a regular supermarket chicken, but it will have more flavor and cook more evenly. Most chicken sold in supermarkets are pumped with saline water to make them look bigger and heavier, but they’ll come out bland even when you brine it.

Brining isn't necessary but I thought I'd include the recipe for you.

I rinse my chicken pieces in some cool water and dry well. Mix together the salt, a little pepper, the herbs, the lemon zest and juice; rub it onto the chicken pieces generously and place the chicken in a shallow pan, cover loosely and brine in the refrigerator for up to 3 days. One day does the job but 3 days will make the skin crispier and the meat more tender.

When ready to grill rub the salt, pepper and herbs off the chicken, you can rinse it off if you like but make sure to dry the chicken well.

Heat a gas or charcoal grill to medium (about 350°F to 450°F), brush the cooking grates clean and rub with a towel dipped in oil.

Grill the chicken pieces, skin side down first, over indirect medium heat, with the lid closed, for about 5-6 minutes. Turn the pieces and grill another 5-6 minutes.

Brush with BBQ sauce, close the lid and cook for about 10 minutes, turn and cook another 10 minutes or until a thermometer reads 165°. The chicken may take longer to cook depending on the size of the piece. When you test the temperature be sure to stay away from the bone for an accurate read. Let the pieces rest off heat for about 5 minutes before serving. The breasts and wing pieces could take 30 to 40 minutes and the whole legs will take 40 to 50 minutes. During the last 5 minutes of grilling time, move the chicken over direct heat and cook until well browned all over, turning once or twice. Serve warm.

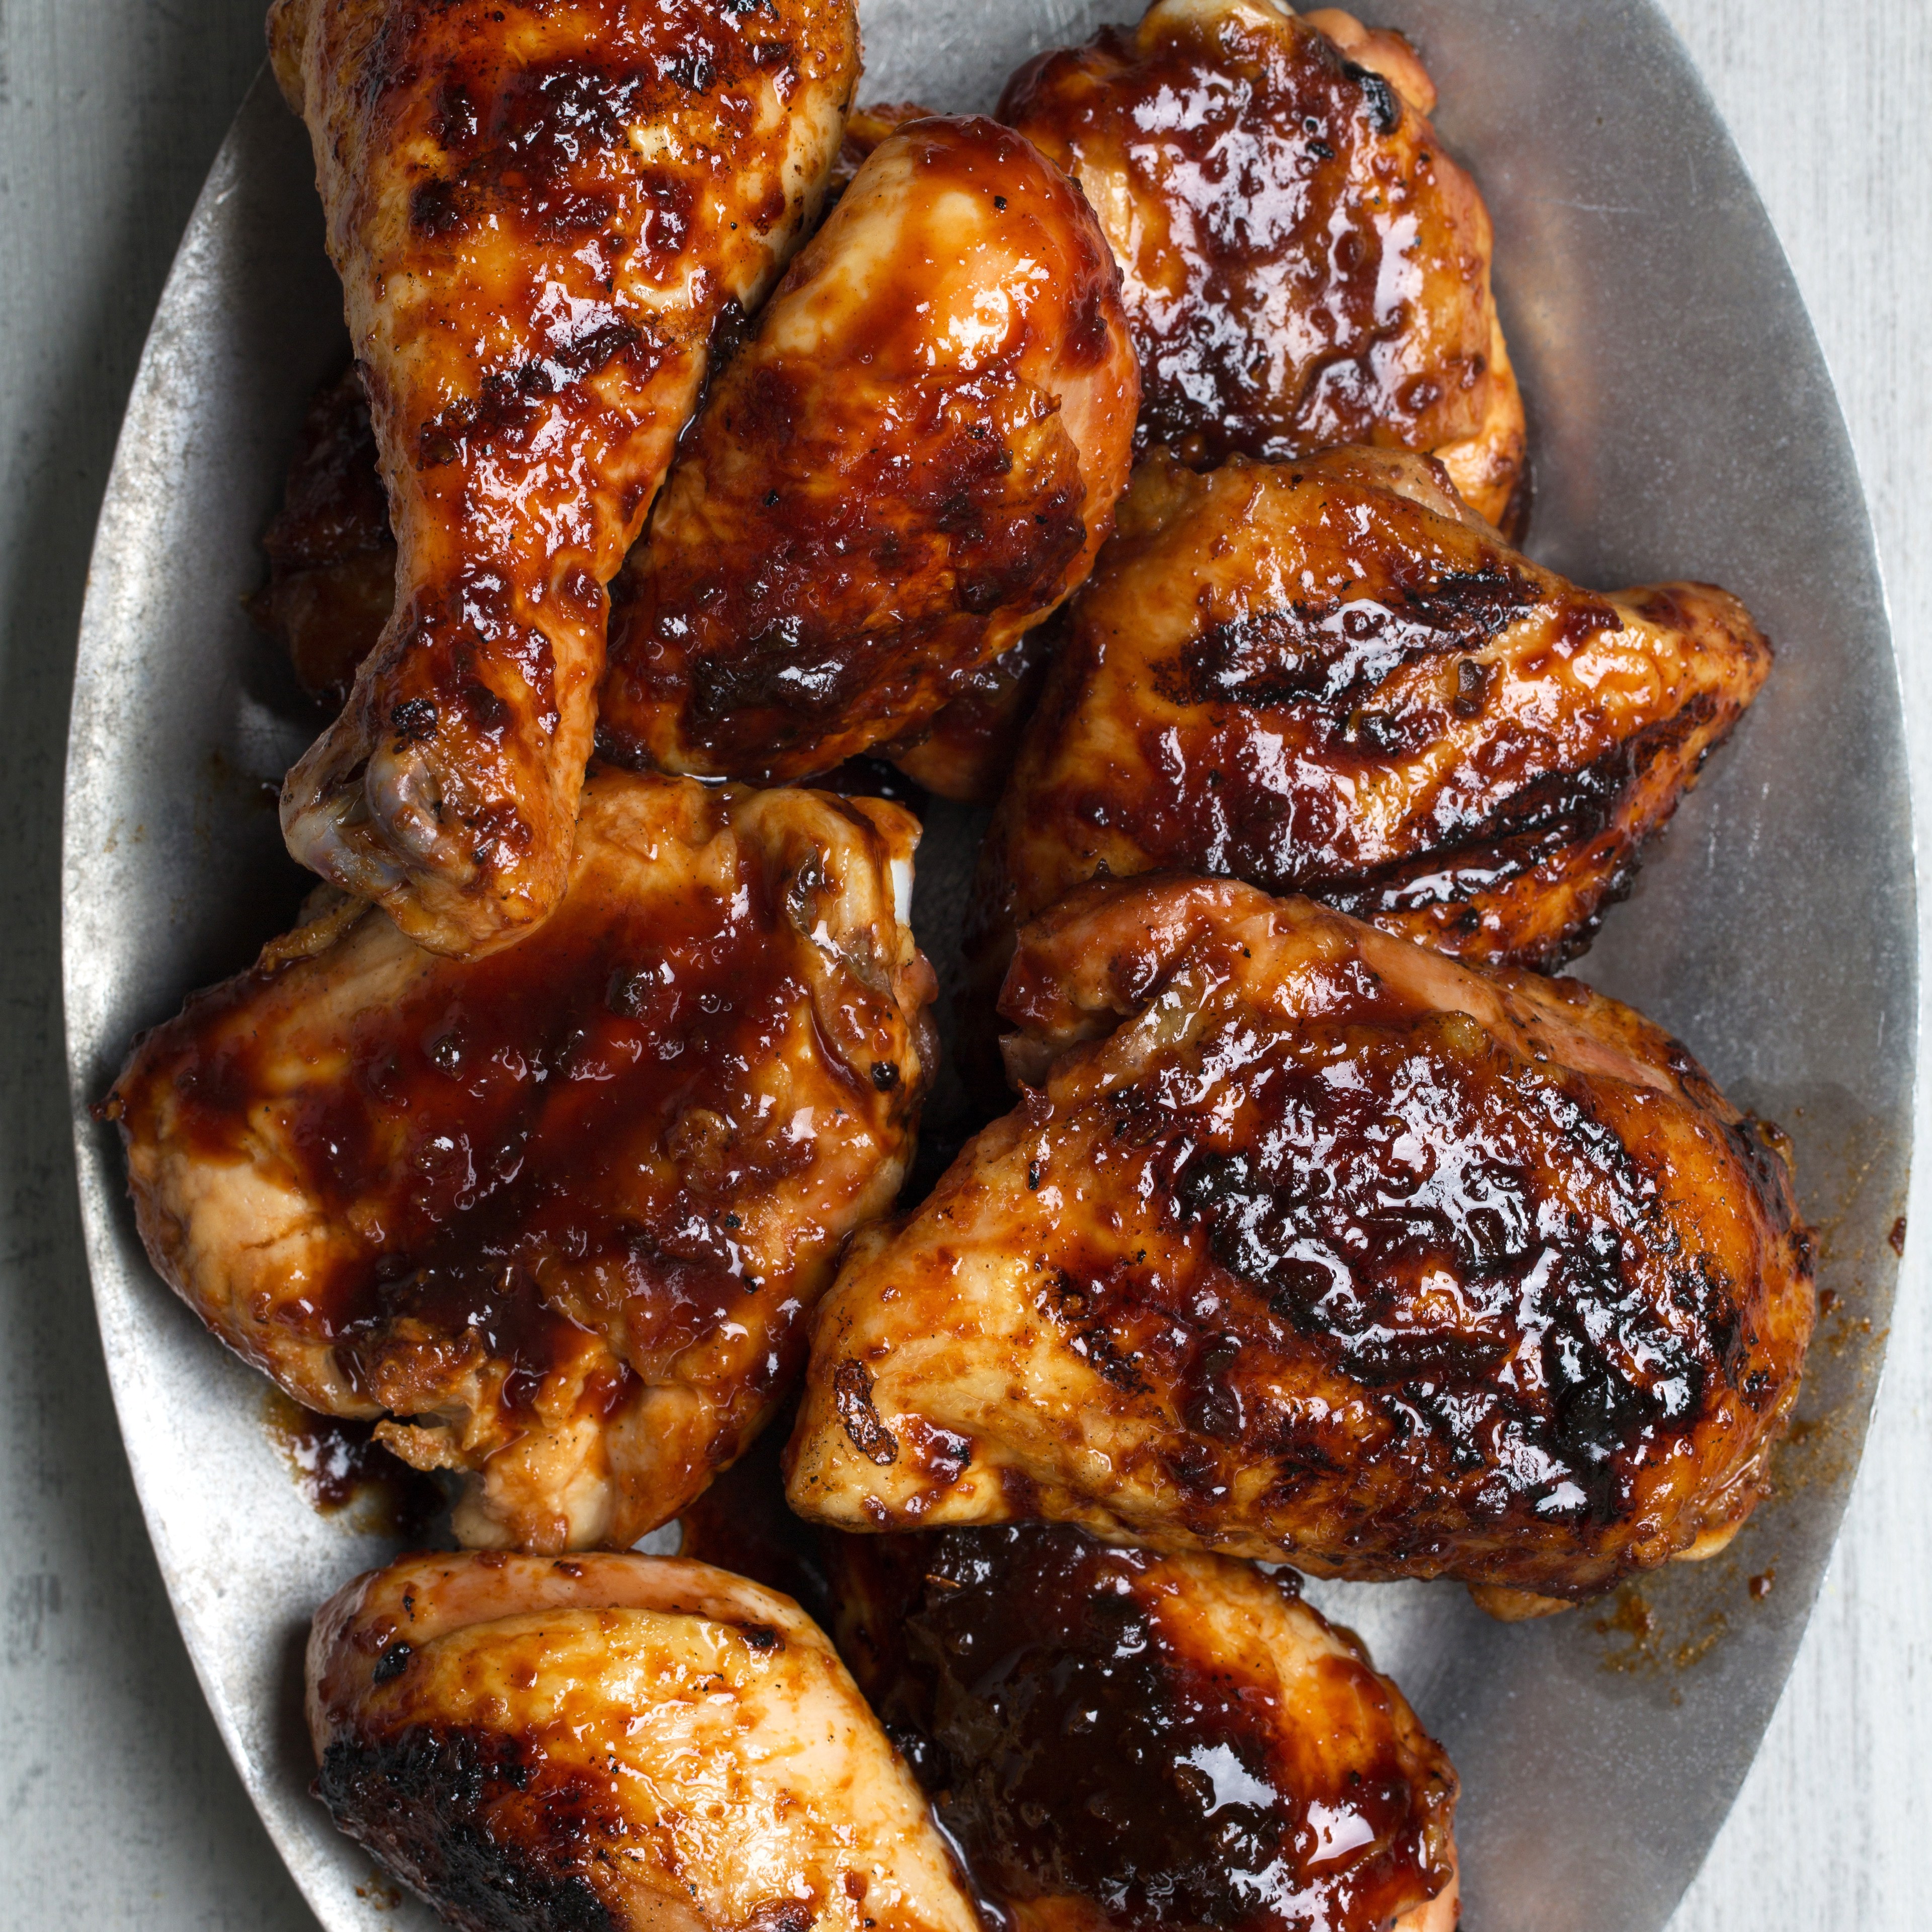
Grilling chicken isn’t always the easiest thing to do. Many times the chicken burns long before the inside is done. Here’s a great way to grill that chicken to perfection.


Leave a comment
Share
  • Pin it
  • Share
  • Tweet
  • Share
  • Email

A Simple Meal

7 / 9 / 19

Grilled Prime Ribeye Steak

Last week we had friends over and grilled a Prime Ribeye steak that I had cut off a bone in prime rib roast, the steak was about 3 lbs. and 4″ thick. I had just attended a book signing/demo at Melissa’s Produce with Jamie Purviance and his new book, Weber’s Ultimate Grilling and was eager to try some of his fabulous recipes.

When I brought this book home my husband, Frank,  promptly stole it and put it on his side of the table. After several readings he was excited to try some new ideas that he picked up from the book. He decided to set up our Weber with a ‘hot’ side and a ‘cool’ side and he also wanted to get a little smoke on the steak so to get the ‘smoke’ he placed a chunk of hardwood into a pan, filled it with water and let it soak for an hour or so. Then he placed it on the hot side of the bbq, closed the lid and let it heat up to a smoke point.

I made sure the meat was nice and dry, seasoned it with Himalayan Pink Sea Salt and freshly ground pepper. We grilled it on the hot side of the bbq for about 3 minutes, turning it a quarter turn before flipping it over to the other side and repeating the process. Frank then moved the steak to the cool side and covered the Weber with the lid; we let it smoke until the steak was about 125°, removed it and let it rest for about 10 minutes before slicing it. This ensures the meat will be rare to medium rare when we do cut it; the steak will continue to cook after it’s removed from the heat and it needs the off heat time to let the juices settle back into the meat.

We added some grilled corn and a garden fresh salad with just picked tomatoes, cucumbers & mixed greens. The prime rib was tender, juicy with just a little hint of smoke, a success all around. We’ll definitely be using this method in the future for all cuts of meat and poultry. Thanks for the informative and thoughtful book Jamie!

Leave a comment
Share
  • Pin it
  • Share
  • Tweet
  • Share
  • Email

Memorial Day 2019

5 / 23 / 19

Summer is almost here! Not that you would know that by the weather we’re having. The rain is nice and it makes the garden grow but my other half is craving those warm summer days. Even though here in Southern California we grill all year long, Memorial Day is the official start of grilling season. Whether you grill on gas, charcoal or wood these recipes are easy do ahead recipes for cooking outdoors and picnics. So clean up that grill and set the table because dinner is served! Check out this simple cheese platter, get A Little Book of Cheese to learn all about cheese and how to make a platter!

Summer Pasta Salad

Save
Print

Make this light summer pasta salad recipe a day ahead of time so that it can soak up all the bright, tangy dressing.

  • 1/4 cup red wine vinegar
  • 1 teaspoon Dijon mustard
  • 1/2 cup olive oil, approximately
  • Salt and pepper
  • 1 teaspoon garlic powder
  • 2 teaspoon fresh basil, torn
  • 1/2 cup diced cucumber
  • 1 pint cherry tomatoes, halved or quartered
  • 1/2 cup diced red bell pepper
  • 1/3 cup thinly sliced green onions
  • 1/4 cup sliced black olives
  • 1/2 cup crumbled or diced cheese, mozzarella, chedderella, goat cheese or any you prefer
  • 1 ½ cup cooked pasta, cooked and chilled*

For dressing, mix together vinegar, Dijon, salt, pepper, and garlic powder and whisk until it comes together. While continually whisking slowly add olive oil to taste. Set aside.

Mix together remaining ingredients and toss with dressing. Serve cold.

*Boil the pasta according to package directions, drain and rinse with cold water. When pasta has cooled down a bit, shake off excess water (dry with a towel, if necessary) and toss lightly with olive oil to keep from it sticking together. Refrigerate until ready to toss with dressing. Be sure to cool your pasta before adding the dressing otherwise the pasta will soak it all up.


BBQ Baby Back Ribs

Save
Print

This is quick and easy do ahead baby back ribs. By using your Instant Pot or pressure cooker your ribs will come out nice and tender. Finish off on the grill with your favorite BBQ sauce.

  • 1 slab Baby Back Pork Ribs
  • Sea salt and pepper
  • 1 small yellow onion, roughly chopped
  • 1 celery stalk, large diced, roughly chopped
  • 1 carrot, roughly chopped
  • 1 cup beer (or water)
  • 1 cup BBQ sauce or more

Cut the racks of ribs in to sections that will fit in the pressure cooker and rub with salt and pepper.

Place onion, celery, carrot and beer in the pressure cooking pot. If you’re going to make sauce from the juices in the pressure cooker you can place the ribs directly in the liquid or put the ribs on the rack if you’re going to finish the ribs on the grill or under the broiler with another sauce.

Close and lock the lid of the pressure cooker. Select High Pressure and set the timer for 12 minutes. Press start.

When beep sounds, turn off pressure cooker and use a natural pressure release for 10 minutes and then do a quick pressure release to release any remaining pressure. When valve drops carefully remove lid.

Remove the ribs and cool to room temperature. Once cool, refrigerate until ready to serve.

To finish the ribs:

Preheat the BBQ grill to a medium high heat. Coat one side of the ribs with BBQ sauce and grill 3 minutes. Coat the other side with BBQ sauce flip and grill an additional 3 minutes. Slather on additional BBQ sauce and grill each side for an additional 3 minutes.

You could do the same as above by broiling them until just how you like them.

Serve immediately.

Stuffed Baked Potatoes

Save
Print

The perfect BBQ side dish as they can be made in advance, wrapped in foil and heated on the grill before serving.

  • 2 medium to large russet potatoes, rinsed, dried
  • 1/4 cup sour cream
  • 1/4 cup cheddar cheese, grated
  • 1/4 cup butter, (1/2 stick) room temperature
  • 2 green onions or chives, chopped
  • Sea salt and pepper, to taste
  • 4 tablespoons cooked bacon, crumbled, optional

Preheat oven to 450°. Pierce potatoes with fork. Lightly oil potatoes and

place on oven rack. Bake until cooked through, about 1 hour. If potatoes

starts to crisp and brown up, turn the oven down to 400. Transfer to baking

sheet; cool 5 minutes. Cut potato in half lengthwise. Carefully scoop meat

from the shell and mix with remaining ingredients, mashing lightly as you go. Season and taste before scooping mixture into potato shell.

Can be prepared 1 day ahead, covered and refrigerated. Bring to room temperature before the final cooking stage.

Preheat oven to 400°. Bake potatoes on baking sheet until heated through

and beginning to brown, about 25 minutes. For the grill, wrap each ½ in heavy duty foil, heat on the indirect side of the grill for about 20 minutes or until hot. Garnish with finely minced green onions, chives or crumbled bacon.

Related Posts Plugin for WordPress, Blogger...
Leave a comment
Share
  • Pin it
  • Share
  • Tweet
  • Share
  • Email
Deb

Meet Chef Debbi

READ BIO

Join-Us Sign up for our newsletter to receive exclusive tips 'n tricks, and special offers on classes, tours, and more!

Recent Posts

  • New E-Book!
  • From the Pantry
  • Spaghettini at Home
  • Growing Corn
  • Spring IS Coming!

Categories

BookCUT

What's in Your Pantry?

How to stock your pantry to create delicious dishes.

Learn Chef Debbi's pantry essentials and how to substitute ingredients for pantry staples in her basic recipes for quick and easy meals.
BUY BOOK>

FacebookTwitterInstagramGooglepinterest


© 2014, DEB'S KITCHEN
Angie Makes Feminine WordPress Themes