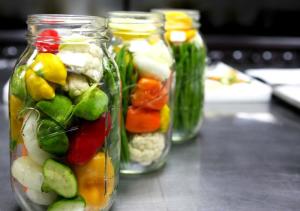
Summer Pantry
25 Must Haves for Your Summer Pantry
- Anchovies or anchovy paste
- BBQ sauce
- Canned lump crab meat
- Canned Tomatoes, Plum, chopped and Sun Dried
- Capers
- Chickpeas
- Corn and pickle relish
- Crackers
- Dried or canned beans
- A variety of Italian Cured Meats, Prosciutto, Salami etc. (for Sandwiches, Salads, Pizza)
- Italian Tuna in olive oil
- Marinated Artichoke hearts
- Nuts, sunflower seeds (keep in refrigerator-they’ll last longer
- Extra Virgin Olive Oil
- Oil, Safflower, Sunflower or Peanut
- A variety of olives, pitted & not
- Pasta and Pizza sauce
- Pasta, spaghetti, shells, noodles, orzo
- Pickles and Pickled Vegetables
- Real Parmigiano Reggiano (wedge)
- Roasted Peppers in a jar
- Rice, Jasmine, Arborio, Bomba or Iberia (both Spanish rice for Paella)
- Salsa
- Sardines, in olive oil, mustard or tomato sauce
- Variety of vinegars, Rice, Apple Cider (for pickling), balsamic, red wine
It’s hard to narrow down a list to 25 items you must have (or at least these are must’s for me). You can find a full list of pantry must haves including herbs, spices and more in my book ‘What’s In Your Pantry’ available on my site, Debs Kitchen.
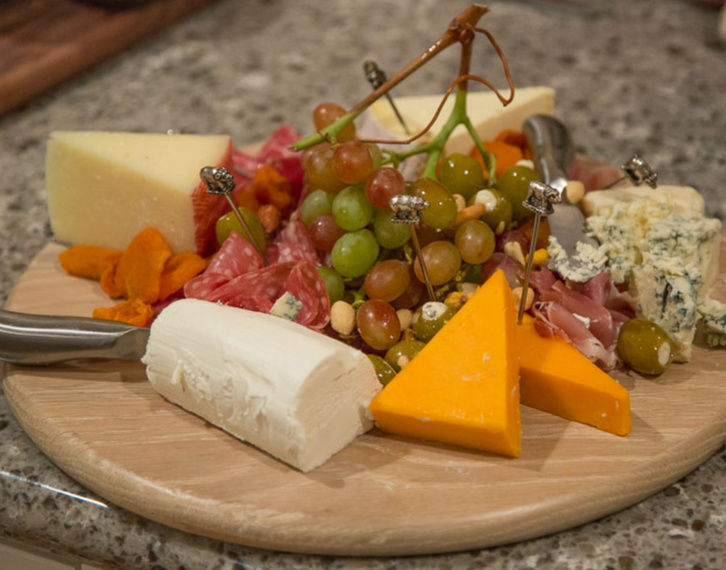
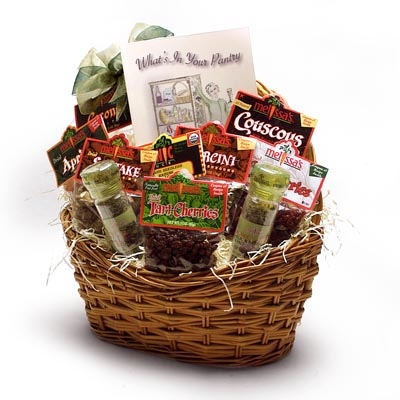
 Here’s a gift basket that I designed with Melissa’s Produce full of dried pantry items, fruit, seasonings, mushrooms and more. It also comes with a signed copy of my book, What’s In Your Pantry! Get it here, click on Melissas’s.
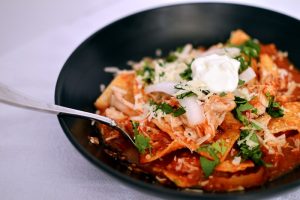
Summer Menu
Crab Cakes
(Serve with Roasted Red Pepper Dip
or Tomato Bacon Jam)
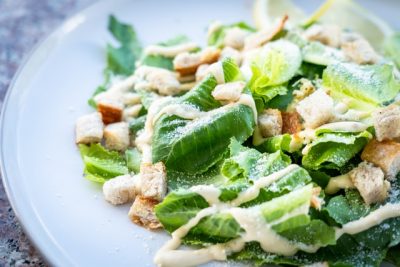
Summer Greens with Goat Cheese & Pickled Beets
Orzo Salad with Shrimp
BBQ Chicken Thighs
Mini Crab Cakes
Makes 24 small crab cakes
- 1 pound lump crab meat
- 4 green onions, thinly sliced
- 2/3 cup whole wheat bread crumbs
- 1 1/2 teaspoons Old Bay seafood seasoning
- 1/4 teaspoon ground black pepper
- 1 tablespoon Dijon mustard
- 1 egg
- 2 tablespoons mayonnaise, divided
- 1 ½ teaspoons lemon zest
- 1/4 cup chopped jarred roasted red bell pepper
- 2 teaspoons hot sauce
- 1 1/2 teaspoons grated lemon zest
- 1 tablespoon oil, more if needed
Place crab meat in a large bowl and use your fingers to gently feel for and remove any pieces of shell or cartilage. Add green onions, bread crumbs, seafood seasoning and pepper and toss to combine.
In a small bowl, whisk together mustard, eggs, mayonnaise and lemon zest, pour over the crab mixture. Toss until combined, cover and refrigerate 30 minutes.
Form the crab mixture into 24 small cakes, each about 1 1/2 inches in diameter. Heat oil in a large nonstick skillet over medium heat. Working in batches, fry cakes until nicely browned and cooked through, about 3 minutes per side. Drain briefly on a paper-towel lined plate and serve.
These freeze well also, freeze in a single layer on a sheet pan and when frozen toss into a freezer bag.
Tomato and Bacon Jam
- ½ pound bacon
- 2 pounds tomatoes, chopped
- 1 yellow sweet onion, diced
- 1 cup sugar
- 2 ½ tablespoons apple cider vinegar
- 1 ½ teaspoon kosher salt
- ¼ teaspoon pepper
- 1 dash hot pepper sauce
Render the bacon until browned, place on paper towel lined paper plate.
In a medium saucepan bring to a boil the tomatoes, onion, sugar, vinegar, salt, pepper and splash of hot sauce. Stir occasionally until the sugar dissolved. Using a stick blender, crush the tomato ingredients until chunky. Chop the bacon and add to the tomato mixture, cook over medium heat until thick, about an hour. Taste and adjust seasoning.
Cool before storing in a 1 pint jar. Refrigerate up to a week or freeze up to 2 months.
Roasted Red Bell Pepper Sauce
An easy roasted red pepper dip for any occasion. Quick and easy to prepare; serve with pita bread, cocktail bread or any cracker. Also a great dip for crab cakes
Serving Size: 6
Pomegranate Molasses can be found at Middle Eastern markets. You can omit it if you like, the flavor will be good, just not as rounded.
- 1 cup walnuts -- toasted
- 1 slice Italian bread -- torn into pieces
- 1 cup red peppers -- roasted
- 2 tablespoons extra virgin olive oil
- 2 tablespoons pomegranate molasses
- 1 tablespoon tomato paste
- 1 teaspoon kosher salt
- 1 teaspoon ground cumin
- 1/2 teaspoon Aleppo pepper -- ground or Hungarian paprika
- 1/2 teaspoon sugar -- optional
- pita bread -- sliced into wedges
Place all ingredients into a food processor or blender and puree into a
smooth paste, stopping occasionally to scrape down the sides. Refrigerate
if not serving immediately. Let come to room temperature before serving.
Serve with pita wedges.
Pickled Beet, Walnut & Goat Cheese Salad
- 4 cups mixed summer greens
- ½ cup goat cheese, crumbled
- 1 cup toasted walnuts, broken in pieces
- 1 recipe Apple Vinaigrette
- Pickled Beet slices
Toss summer greens with a little of the dressing, just enough to coat. Place onto individual plates and lay beets onto greens, sprinkle the beets with a little dressing and top with crumbled goat cheese and toasted nuts.
Pickled Beets
- 1 pounds bunched small beets, tops removed*
- 1 teaspoon whole mustard seeds, divided
- 1 medium orange slice
- 1 cup apple vinegar
- 1 cup water
- 1 tablespoon kosher salt
- 1 qt jar with lid, washed and dried
Preheat oven to 400°. Rinse and dry the beets, place in a piece of foil and drizzle with oil. Wrap up and place on a baking sheet. Cook for 30 min. to an hour depending on the size of the beets, or until you can easily pierce them with a paring knife. * Steamed and peeled beets are available usually at Trader Joe’s or always at Melissas.com
Put mustard seeds into the bottom of the jar and add an orange.
Let the beets cool after roasting until you can handle them in your hand. Rub the skin off the beets with a paper towel, remove root and cut the top off.
You can cut the beets however you like, into wedges, slices or half slices, then place into the jar.
Place the vinegar, water, and salt in a large measuring cup or bowl and stir to dissolve the salt. Pour over the beets, leaving a 1/2” space at the top. Slide a table knife down the side of the beets to release any trapped air. Refrigerate for 24 to 48 hours
Storage: Since these beets are not canned, they must be stored in the refrigerator. Refrigerate pickled beets for up to 2 months, but if any off flavors or aromas develop or if fermentation begins, it is best to discard the remaining beets.
Apple Cider Vinaigrette
- ¼ cup apple cider vinegar
- 1 tablespoon shallot, finely minced
- 1 teaspoon Dijon mustard
- ½ cup olive oil, approximately
- 1 pinch sugar
- salt and pepper, to taste
In a medium bowl, whisk together vinegar, shallot and Dijon mustard. Slowly whisk in olive oil and season as needed with sugar, salt and pepper.
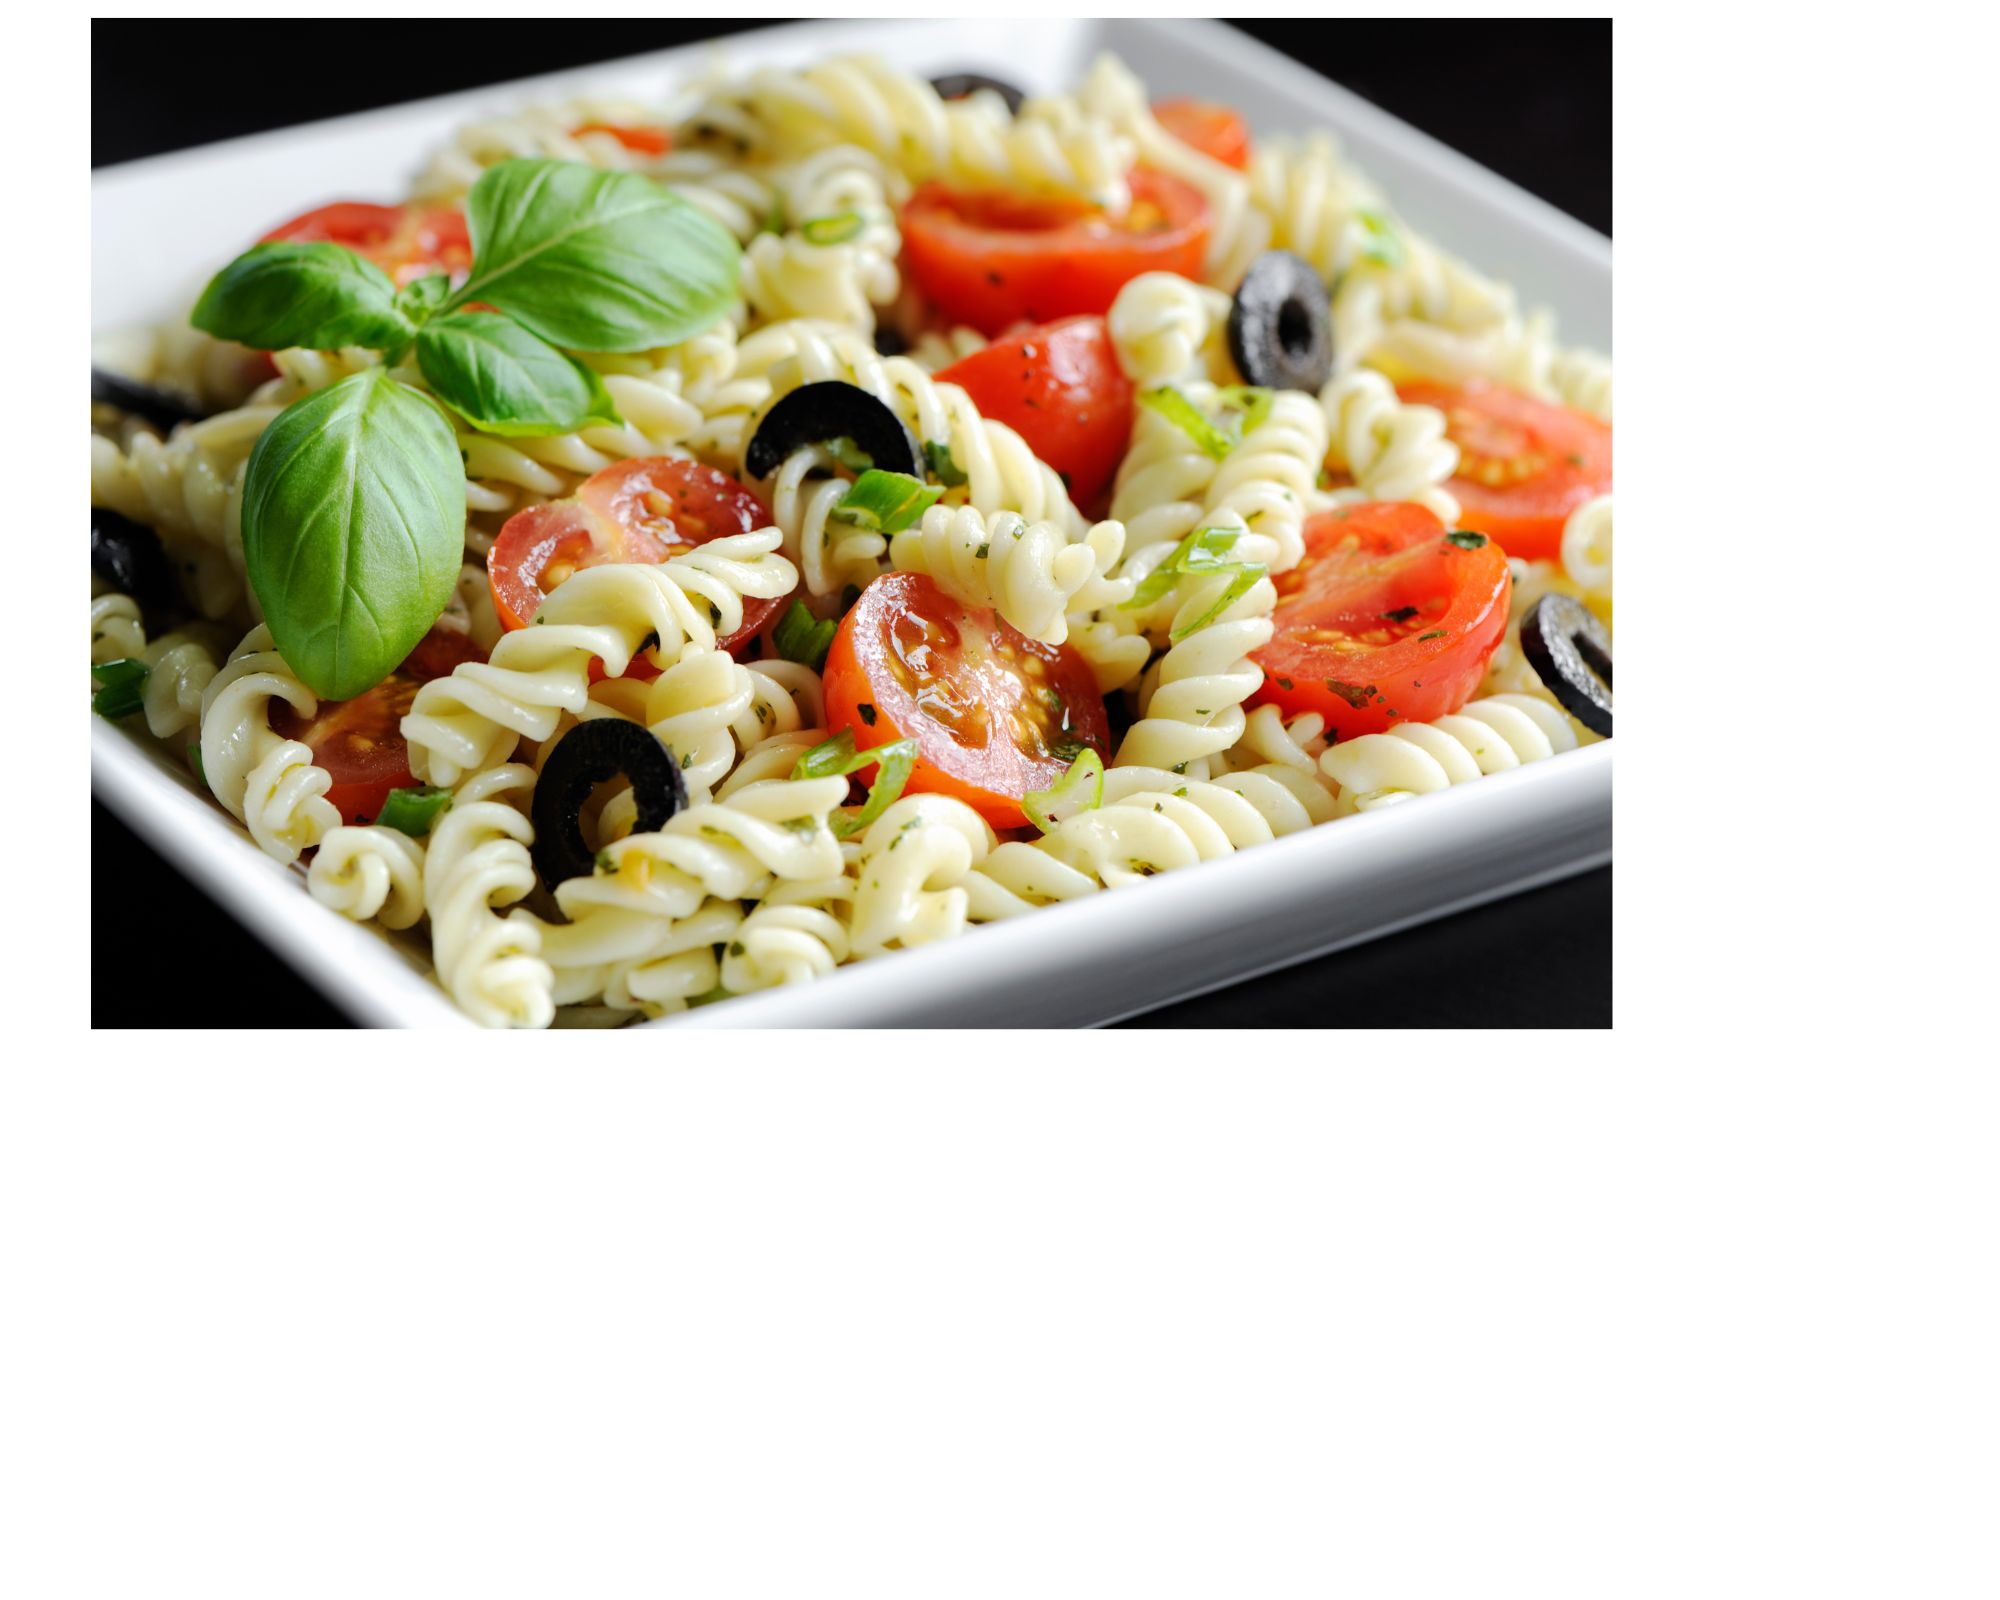
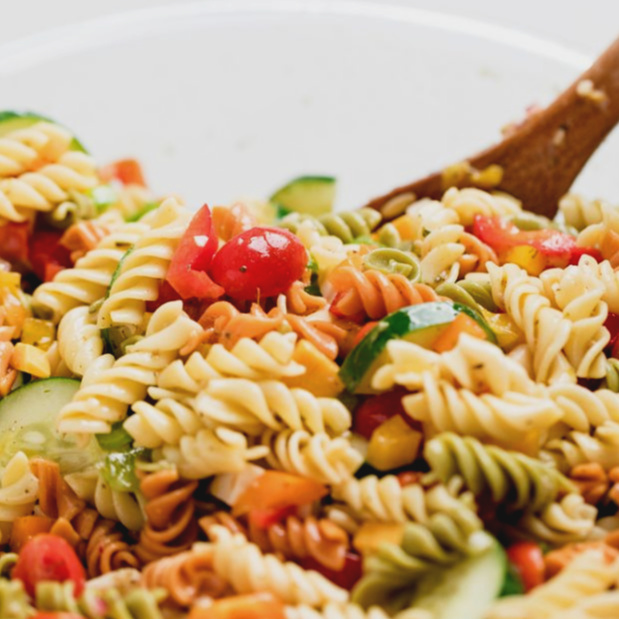
Orzo Pasta Salad
- 1/4 cup vinegar, red wine, white wine or other flavor
- 1 teaspoon Dijon mustard
- 1/2 cup olive oil, approximately
- Salt and pepper
- 1 teaspoon garlic powder
- 1/2 cup diced cucumber
- 1 pint cherry tomatoes, halved or quartered
- 1/4 cup sliced black olives
- 1/2 cup crumbled feta, optional
- 1 1/2cup cooked orzo pasta
- 1 pound medium cooked shrimp, chilled
For dressing, mix together vinegar, Dijon, salt, pepper, and garlic powder and whisk until it comes together. While continually whisking slowly add olive oil to taste. Set aside.
Mix together remaining ingredients and toss with dressing. Serve cold.
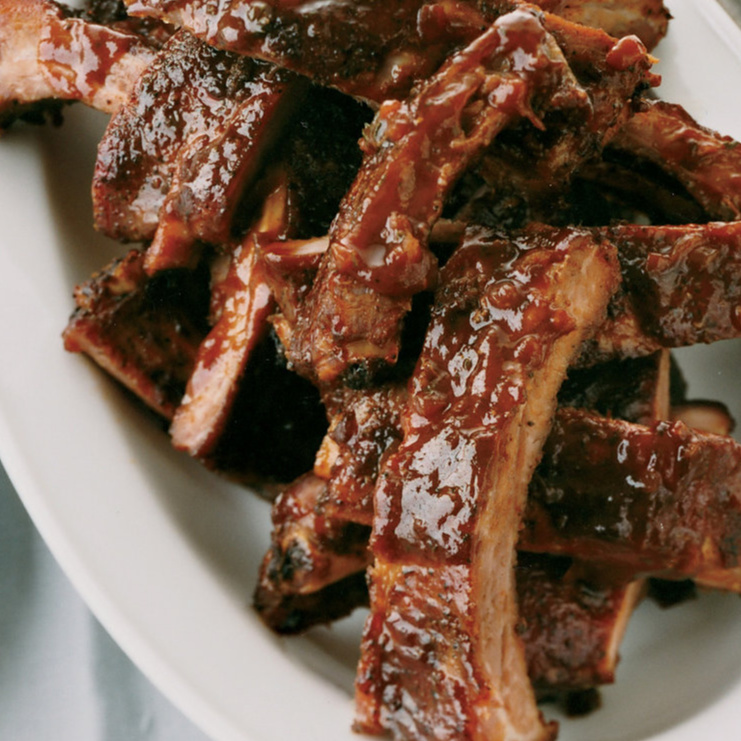
BBQ Chicken Thighs
- 4-10 small or medium chicken thighs, bone-in, skin-on
- 2 Tb. oil or as needed
- 1/2 – 1 cup barbecue sauce
Preheat your gas grill to 400° with the lid closed. When you’re ready to grill, turn grill down to 350°.
Rub the chicken lightly with oil and place skin side down on the grates. Close the lid and cook for about 5 minutes. If the thighs are on the larger side, grill for 7-8 minutes. Do not crowd the chicken on the grate. If you try to turn the chicken and the skin is sticking to the grate, let the chicken cook until it releases. Turn and cook the other side for the same amount of time.
Once preheated, lower the temperature to 350°F. Place
chicken on the grates and close the lid. Grill on one side
for about 7 minutes or until the chicken naturally
releases from the grill.
Move all the pieces to one side of the grill and turn off the burner under the chicken. Brush the skin lightly with BBQ sauce and let cook a further 7-10 minutes with the lid closed. Check with a meat thermometer, you want to cook the chicken until it reaches 165°. Brush chicken with BBQ sauce several times and you can turn the chicken to add BBQ sauce to the other side.