Deb's Kitchen - Farm, Food, Wine & Lifestyle Adventures
  • Facebook
  • Google
  • Twitter
  • Instagram
  • Pinterest
  • Email
Menu
Skip to content
  • Home
  • Blog
  • Events
    • Classes
    • Tours & Adventures
  • Edible Gardening
  • Preserving
  • Recipes
    • Appetizers
    • Soups and Salads
    • Main Dishes
    • Side Dishes
    • Desserts
  • About
    • Whats In Your Pantry
    • Ask Debbi
    • Deb’s Kitchen Botanicals
    • Press
  • Contact

Category Archives: Preserving

Hatch Chile Roast

8 / 1 / 218 / 1 / 21

Hatch Chile Time!

 
New Mexico Hatch Chiles are here in Southern California and we’ve been waiting all year to replenish our supplies! These chiles are only here for a short month or so before being gone again until next season. A favorite Southwestern chile, the Hatch chiles are grown in Hatch, New Mexico where everyone celebrates their harvest. Roasters are going hot on every street corner and people are buying them by the case. 
 
Here in So. California, Melissa’s Produce brings us these gorgeous chiles in mild and hot, buy both! Melissa’s has teamed up with several local grocery stores to provide roasting your chiles by the case. Click on the Hatch Chile Roasting link and it will take you to a list of roastings by Melissa’s Produce.
 
Try Hatch Chile’s in all your dishes, from omelets to soups, stews, Chile Verde and even maybe a Hatch Chile Sorbet, mmmmm. Click here for one of my favorite recipes.The list is endless! 
Click here for local Hatch Chile Roasting with Melissa’s Produce
Leave a comment
Share
  • Pin it
  • Share
  • Tweet
  • Share
  • Email

Rancho Los Alamitos

4 / 8 / 194 / 8 / 19

Chef Debbi returns to the Rancho! We’ve been waiting a long time to bring our classes back to Rancho los Alamitos. We’ve schedule our first class for Sat. June 8th, we’re going to pickle!

Saturday, June 8, 2019
9:30 am – 12:30 pm
$75 Future member/ $65 per RLA member
Advance Reservations Required,  Reservations close 5/27/19


Click here to sign up


Join us at Rancho Los Alamitos for a hands-on class on the basics of pickling and fermenting vegetables from your garden or the farmers’ market. In this class, you will make two kinds of pickled vegetables and a jar of sauerkraut. (If you think that you don’t like sauerkraut, wait until you try your own!) This is a refrigerator-style pickling where no water bath canning is necessary. Chef Debbi will demonstrate techniques, discuss food safety and the basics of canning pickles in brine. Each participant will prepare and take home three jars of their very own preserved produce.

The class is suitable for adults and interested teens. Reservations are required. Parking is limited at Rancho Los Alamitos, so car-pooling is encouraged and appreciated.


Sponsored by

Leave a comment
Share
  • Pin it
  • Share
  • Tweet
  • Share
  • Email

Cranberry, Apple & Pear Relish

12 / 13 / 17

Cranberry, Apple and Pear Relish

Save
Print

A perfect relish or conserve for fall and winter use. Serve it with chicken, beef, duck or other game meat; it also makes a great spread or dip mixed with cream cheese.

  • 2 cups peeled and chopped apples
  • 2 cups peeled and chopped pears
  • 12 oz. fresh cranberries
  • 2 1/2 cups sugar
  • 1 1/2 cups water
  • 2 orange, zested and juiced
  • 1/4 teaspoon nutmeg
  • 6 - 8 whole cinnamon sticks
  • 1 cup chopped walnuts

Makes 6 pints, approximately

In a large pot combine apples, pears, cranberries, sugar, water and orange juice.

Simmer, stirring frequently, for 15 minutes.

Stir in the nutmeg and walnuts, and then cook for 5 more minutes.

Use fresh or can for future use. To process follow these instructions.

Place a whole cinnamon stick in each sterilized jar, then ladle the hot relish into jars leaving 1/4″ headspace.

Process for 15 minutes in a boiling water canner.

Adapted from Farmers Daughter

Leave a comment
Share
  • Pin it
  • Share
  • Tweet
  • Share
  • Email

Tomato Overload

7 / 6 / 17

There are many ways to save your harvest and if you have more tomatoes than you know what to do with here are some ideas.


First and foremost is water bath canning, I love this because it means that I can store tomatoes on the shelf in my pantry for the year. Fairly easy to do but when it’s hot and humid out like it has been this summer FORGET IT!

As many of you already know, I like to freeze my tomatoes also so later when it’s cool I can make sauce or unfreeze and can them to make more room in the freezer for up and coming dinners. Freezing tomatoes is the fastest way to get things done, wash, and dry then freeze on a baking sheet until frozen solid, pop into a freezer bag and you are done for the day! You can remove one or four at a time, whatever you need and as they begin to defrost, which is almost right away, the skin will slip off easily.

IMG_0481

My second favorite is to make Oven Roasted Tomatoes, although it does require having the oven on for some length of time. I love to dry my cherry tomatoes and then float them in a good olive oil and store in the refrigerator for up to 3 months. Chopped in a salad, in a bruschetta or top on a pizza, they pack a flavorful punch. Fill up your baking sheet and get started right away!

Fontina & Tomato Tart

Oven Roasted Tomato Recipe

Leave a comment
Share
  • Pin it
  • Share
  • Tweet
  • Share
  • Email

Refrigerator Pickled Veggies

8 / 4 / 16

pickling2


Pickled Veggies

Save
Print
  • 1 bunch of radish
  • 3 carrots
  • 4 mini white turnips
  • ¼ # thin green beans
  • 4 small watermelon radish
  • 1 lg. clove garlic, crushed but whole
  • 2 shallots, sliced thin
  • 2 ½ cups pomegranate or red wine vinegar
  • 1 cup apple cider vinegar
  • ½ cup white vinegar
  • 2 cup water
  • 2 tablespoons sugar
  • 4 strips of lemon peel
  • 2 tablespoons pickling or canning salt (do not use any other salt)

Cut up all your veggies into what ever shape you like, making sure they fit into the jar that you will pickle them in.

In a medium sized saucepan add vinegar, sugar, lemon peel and salt; bring to a slow boil, whisk until all the sugar is dissolved,

Wash a quart canning jar and fill with hot water. Let stand while you are bringing the brine to a boil.

Once the sugar has dissolved in the brine, pour the water out of the jar and fill with veggies. Pour the brine over them, let cool, then cap and refrigerate.

Leave a comment
Share
  • Pin it
  • Share
  • Tweet
  • Share
  • Email

Tomato Confit

6 / 11 / 166 / 12 / 16

Is your garden overflowing with tomatoes? I always grow too many and one of my favorite ways to make them go a little farther is to oven dry them. Much like sun dried, these concentrated gems pack a powerful punch and can be used in any dish where you’d use tomatoes. Especially nice on a cheese plate with some creamy goat cheese nearby.

tomatoconfit-chez pim 2006


To preserve them I turn them into a tomato confit and keep in my ‘pantry’ refrigerator. They can’t be water bath canned because of the oil, but they will keep for about 6 months in the refrigerator, if they last that long. The refrigeration will also help to preserve the oil and keep it from going rancid quicker. Use only fresh organic herbs and make sure you wash and dry them very well, you don’t want any water going into your beautiful confit.

Mangia (Eat!)

Save
Print
  • 1 pound tomatoes, cut in half lengthwise
  • Sea salt and freshly ground black pepper
  • 1/4 cup olive oil, approximately
  • 1 tablespoon basil, chiffonade
  • 2 teaspoon fresh thyme
  • 1 clove garlic -- minced

Preheat the oven to 350°.

Arrange the tomato halves cut side up and close together on a baking sheet, season with salt and pepper.

In a bowl, combine olive oil, garlic, and herbs. Drizzle over tomatoes and bake until the tomatoes are soft and shriveled but still retain some moisture, 1-2 hours or more.

Let cool completely. Tomatoes can be stored in a glass jar, cover tomatoes with olive oil, add a fresh sprig of thyme, seal and refrigerate.

Photo: Chez Pim

Leave a comment
Share
  • Pin it
  • Share
  • Tweet
  • Share
  • Email

Oven Roasted Tomatoes

8 / 19 / 1412 / 3 / 14

IMG_0481


Store these tomatoes in a jar covered with olive oil, use a lemon olive oil if desired. For a quick appetizer see below.


1         pound Roma tomatoes, halved lengthwise

Sea salt and freshly ground black pepper

¼       cup olive oil

1         tablespoon basil, chiffonade

1          teaspoon thyme

1         clove garlic, minced

Preheat the oven to 350∫F. Arrange the tomato halves cut side up and close together on a baking sheet. Season with salt and pepper.

In a bowl, combine olive oil, garlic, and herb. Drizzle over tomatoes and bake until the tomatoes are soft and shriveled but still retain some moisture, about one hour.

Let cool completely. Tomatoes can be stored in a glass jar, cover tomatoes with olive oil, seal and refrigerate.

For sauce: Process in a food processor and warm in a large saute pan.


For a quick appetizer, stuff roasted tomato halves with the following.

Mix together 1 log of goat cheese, 2 Tb. fresh chopped herbs and 1 -2 Tb. of heavy cream.

Mix until goat cheese is soft but not runny.

Spoon or pipe herbed goat cheese onto dried tomato, serve with a drizzle of aged balsamic vinegar.

Leave a comment
Share
  • Pin it
  • Share
  • Tweet
  • Share
  • Email

What do you do with all those Tomatoes?

8 / 19 / 1412 / 3 / 14

IMG_0463


There are many ways to save your harvest and if you have more tomatoes than you know what to do with here are some ideas.


First and foremost is water bath canning, I love this because it means that I can store tomatoes on the shelf in my pantry for the year. Fairly easy to do but when it’s hot and humid out like it has been this summer FORGET IT!


As many of you already know, I like to freeze my tomatoes also so later when it’s cool I can make sauce or unfreeze and can them to make more room in the freezer for up and coming dinners. Freezing tomatoes is the fastest way to get things done, wash, and dry then freeze on a baking sheet until frozen solid, pop into a freezer bag and you are done for the day! You can remove one or four at a time, whatever you need and as they begin to defrost, which is almost right away, the skin will slip off easily.

IMG_0481

My second favorite is to make Oven Roasted Tomatoes, although it does require having the oven on for some length of time. I love to dry my cherry tomatoes and then float them in a good olive oil and store in the refrigerator for up to 3 months. Chopped in a salad, in a bruschetta or top on a pizza, they pack a flavorful punch. Fill up your baking sheet and get started right away!


Oven Roasted Tomato Recipe

Leave a comment
Share
  • Pin it
  • Share
  • Tweet
  • Share
  • Email

How To Use Meyer Lemons

1 / 7 / 1411 / 5 / 14


picking-lemons-490x326


The bright star of the season, Meyer Lemons are the sweetest lemons to use in cooking. Thin-skinned, juicy and brightly colored you can use every part of the lemon, well, except maybe the seeds! In season now you can find them in all markets and at your local farmers market. If you have your own tree about now you might be wondering what to do with all those lemons. If you have trouble finding them you can call our friends at Melissa’s Produce and they can fill up your pantry!

Below you’ll find a few of my favorite recipes.

Meyer lemons

 How to choose, store and use beautiful Meyer Lemons

Meyer Lemon Season (Commercial) Nov-May

Home Tree will fruit late Summer-April/May

Choose, Store and Use Meyer Lemons:

Pick lemons that have a smooth, yellow skin with no signs of bruises or cuts. Lemons that are heavy will have more juice in them; unfortunately, Meyer lemons also contain many seeds. Easily seeded if cut in half, most of the seeds are centered in the middle of the fruit.

Store lemons in a bowl on the counter in a cool place with no direct contact with the sun. If the lemons begin to become soft, refrigerate and use within a few days. If using refrigerated lemons, let them come to room temperature if possible. Roll all lemons around on the counter to help free up the juice.

Extra lemon juice can be poured into ice cube trays, frozen and then placed into a freezer bag and used within 6 months.

Grow:

Meyer lemon trees grow well in pots in So. California, use a fast draining soil. They are hungry fellows so feed with an organic citrus fertilizer according to directions. They love the So. California sunshine but not so much our sometimes-windy weather. Meyer lemons like to be moist but not wet, deep infrequent watering and don’t let water sit in the liner or pot. If the weather threatens to freeze, water well and cover with a blanket or row cover at night, be very careful not to know off the fruit or flowers on the tree. Feed with an organic citrus food as directed and keep a close watch for citrus pests. Fruit will hold a long time on the tree, make sure they are nice and yellow before picking and after fruiting a little light pruning, if necessary will keep them compact and tidy.

Citrus_lemon


roast-chicken-su-1724841-l


Photo: Annabelle Breakey; Styling: Dan Becker

[amd-zlrecipe-recipe:16]


[amd-zlrecipe-recipe:17]

[amd-zlrecipe-recipe:18]

2 Comments
Share
  • Pin it
  • Share
  • Tweet
  • Share
  • Email

Giardiniera or Pickled Vegetables

11 / 11 / 1312 / 5 / 14

Giardinaria

Save
Print

When I was growing up, if I was lucky enough, once in awhile we’d dine at a fine dining restaurant. They always served a relish tray when the guests were seated, it was to stimulate your taste buds and make you hungry. I miss having those relish trays but once I learned how to make pickled vegetables myself, so easy!, I keep them in the refrigerator almost year round. The vegetables change with the seasons; they can be eaten alone, with cheese and crackers or chopped finely to make a wonderful relish for all kinds of meats. Be creative!

  • 2 pounds, approximately mixed vegetables, whole or cut into pieces
  • 2 cups cider vinegar
  • 1 cup white vinegar
  • 1/2 cup water
  • 1/2 tablespoon pickling salt
  • 1 tablespoons sugar, if desired
  • 2 tablespoon pickling spice

Makes 2 - 3 quarts

Wash and drain vegetables. Sterilize jars and lids in hot water.

Bring vinegar, water, salt, sugar and pickling spice to a boil.

Pack vegetable medley into hot, sterilized jars, leaving 1/2-inch headspace. Pour hot solution over mix in jars, leaving 1/4-inch headspace. Remove air bubbles. Add liquid to bring headspace to 1/4 inch. Wipe jar rims.

Refrigerate and let stand 2 days before serving. Will last several weeks refrigerated.

For longer storage, process in boiling water bath for 20 minutes.*

*Follow jar manufacturers directions for filling and processing jars.

2 Comments
Share
  • Pin it
  • Share
  • Tweet
  • Share
  • Email

What do you do with a bumper crop of tomatoes?

8 / 27 / 13

IMG_1189
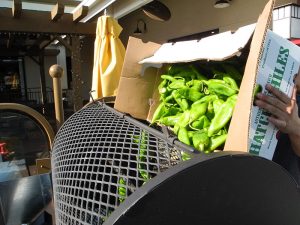
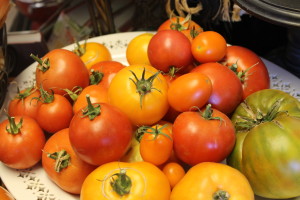
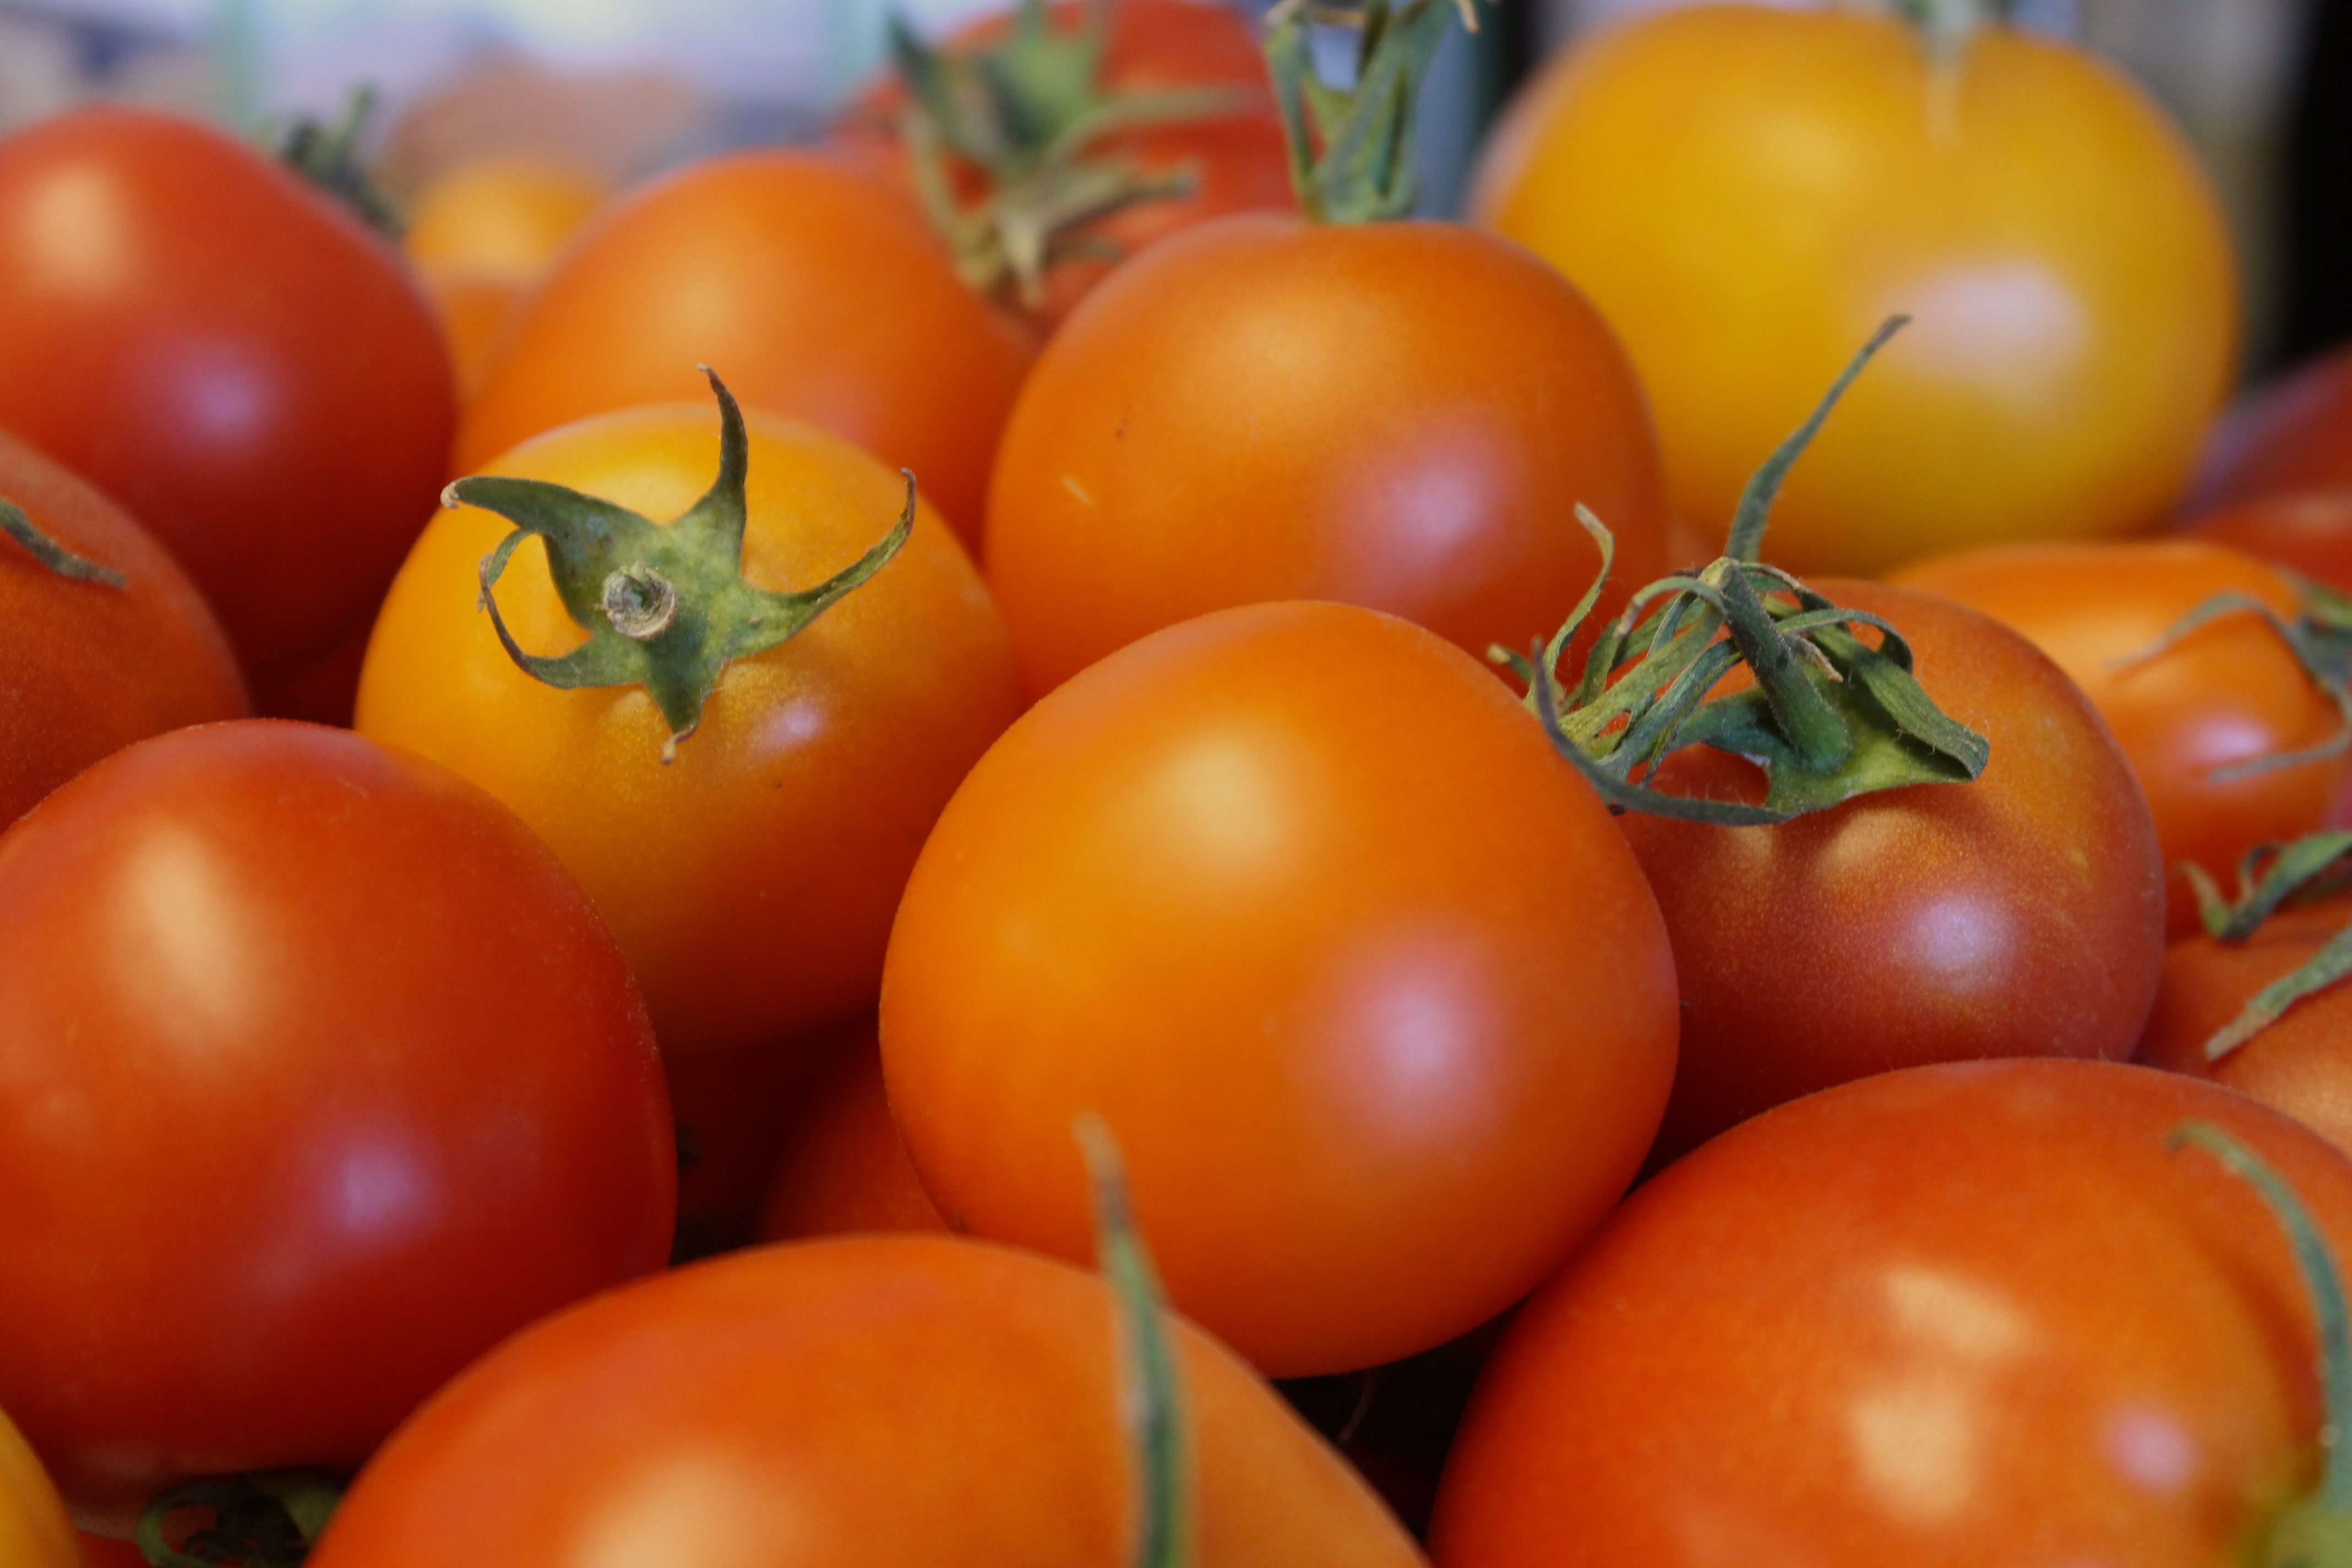
I usually freeze my tomatoes until I have time later to make sauce, ketchup or just can some chopped tomatoes for later use. (I freeze them by washing and drying them, placing them on a baking sheet and freezing until solid. No, I do not peel or seed them as the skin comes off easily when they are defrosted. Once frozen, I place into an airtight freezer bag and return to the freezer. This allows me to defrost one or ten, however many I need at the time.)

I like to do ‘small batch’ canning, which means I can do a few jars at a time. Of course when my tomatoes come in all at once, I haul out the big canner and fill it up. The basic procedure for canning small or large batches is the same only the equipment varies slightly. If I’m canning a small batch instead of the big canner, I can usually use a large stockpot, deep enough for the water to cover the jars by 2″. I use a cake rack for the bottom of the stockpot so the jars don’t sit on the bottom of the pot where they could possibly break. That’s it!

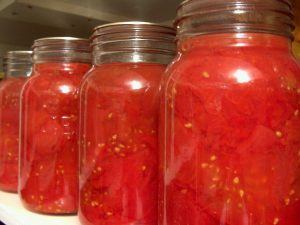
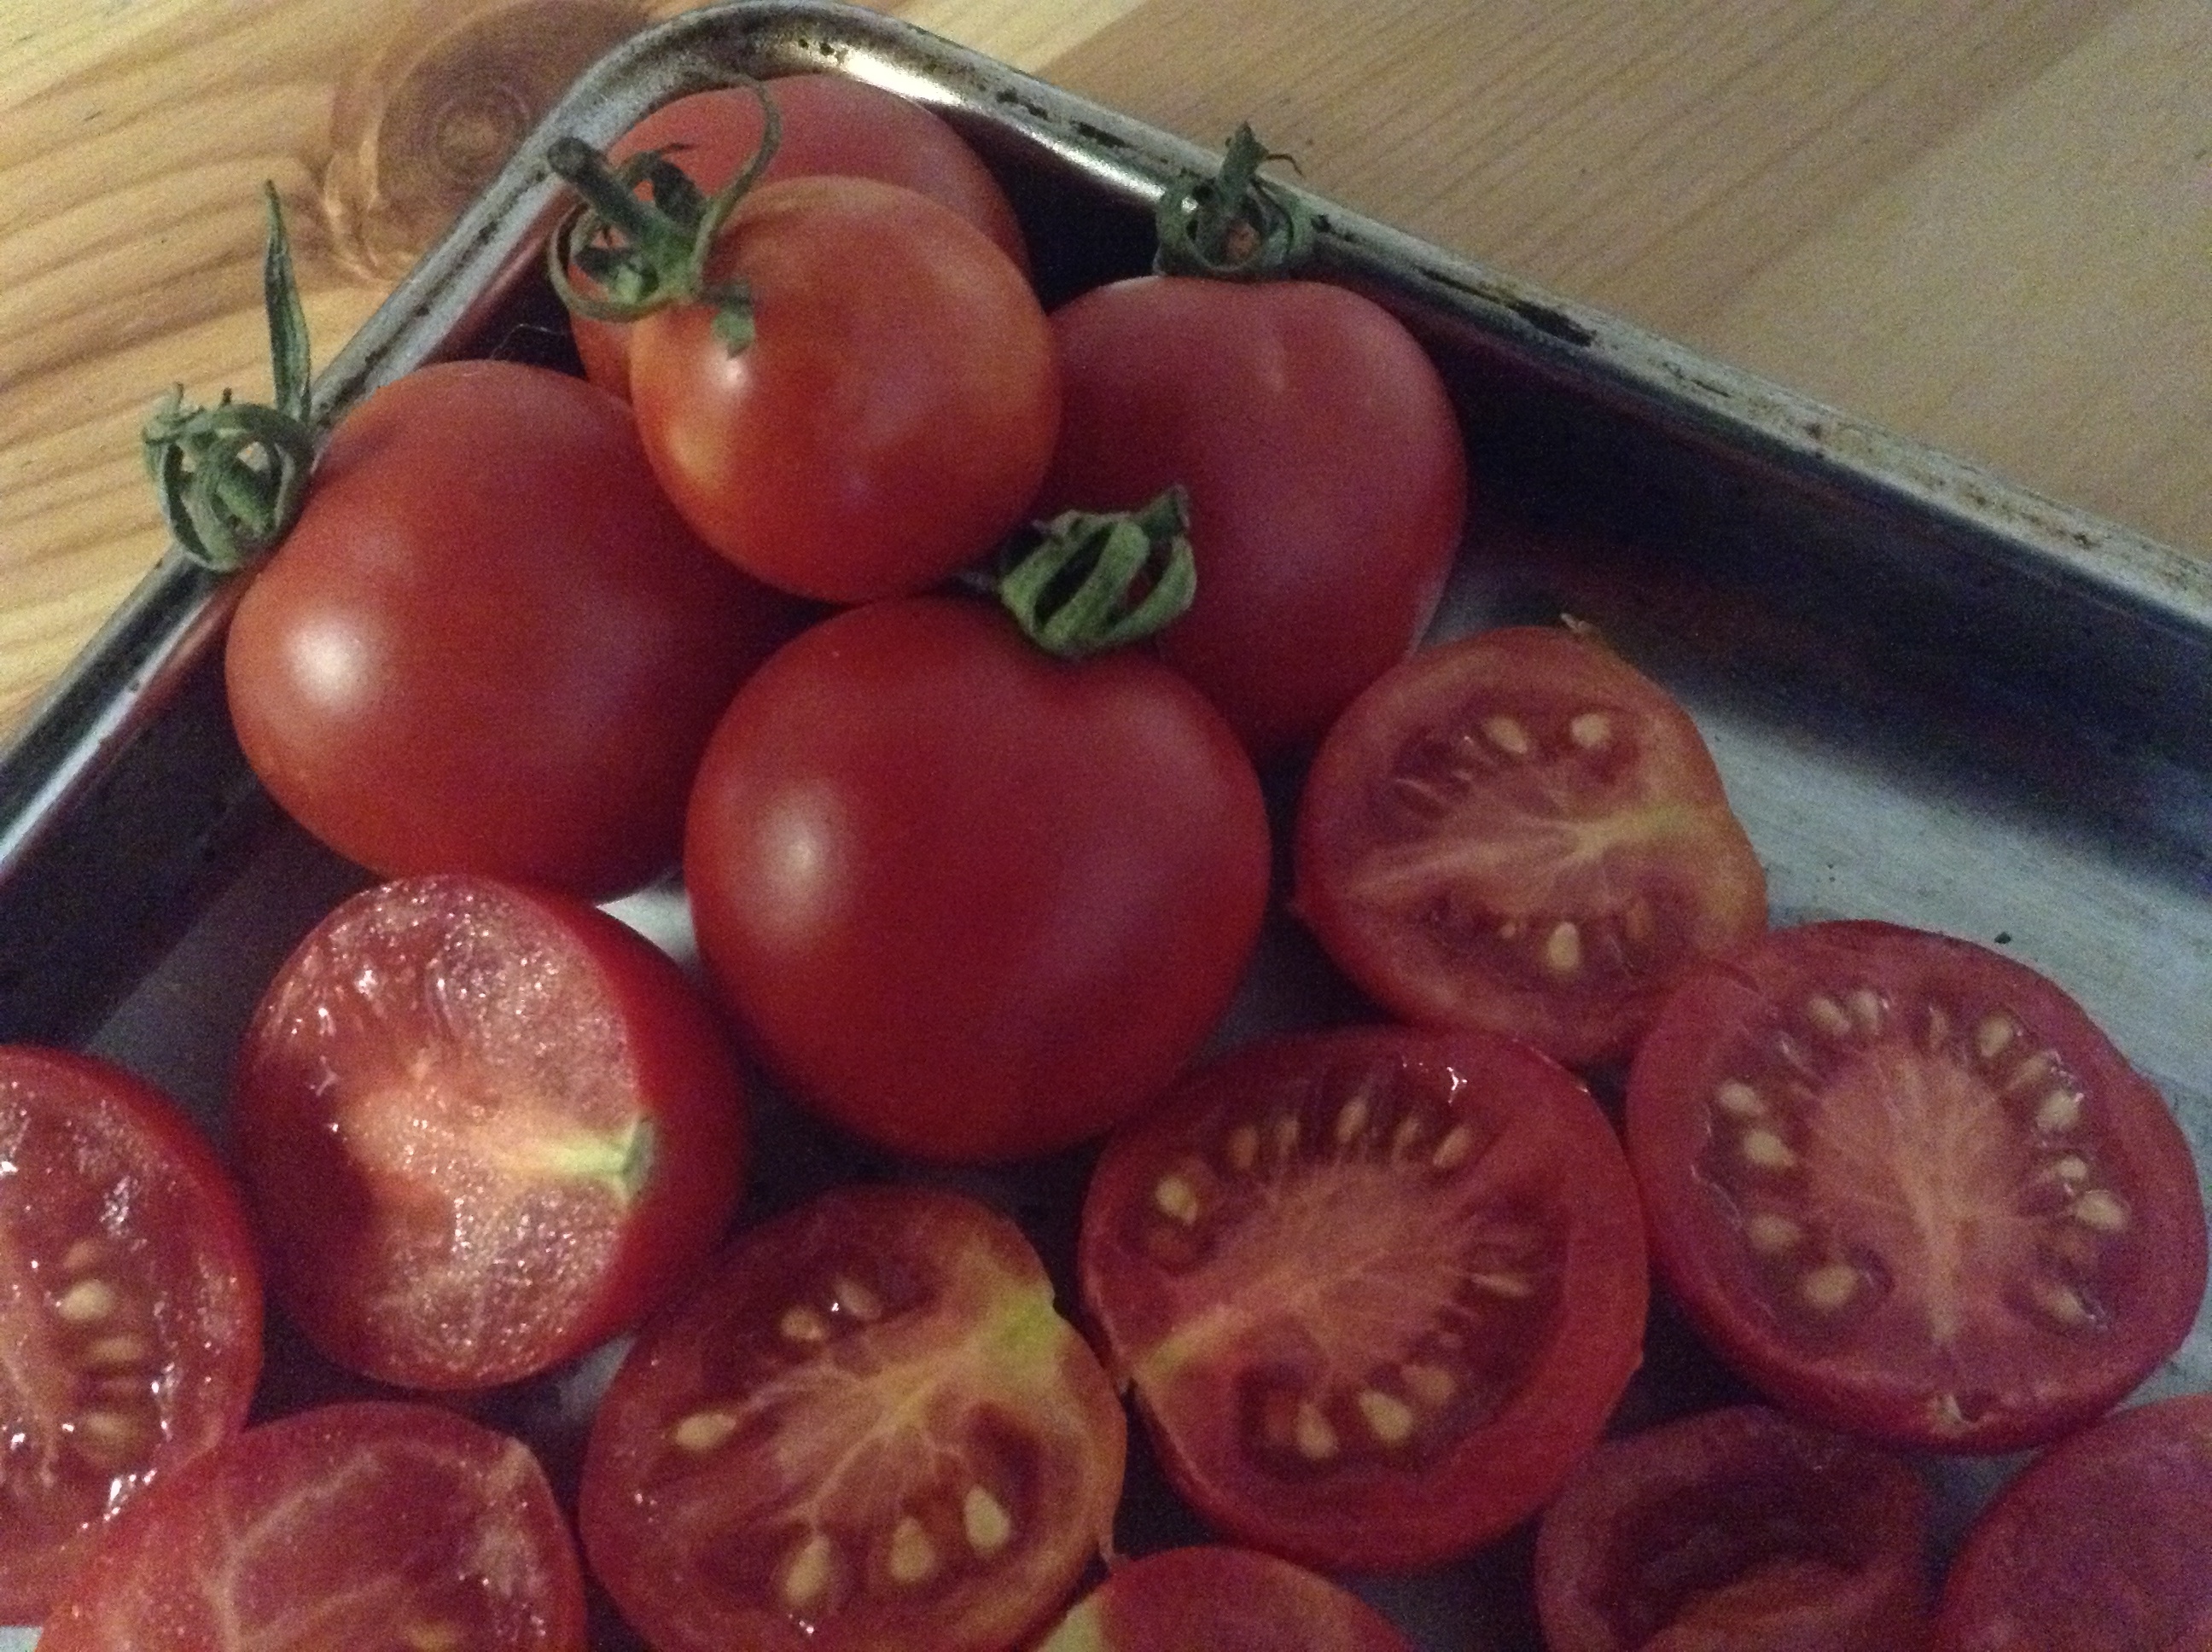
Tomatoes-I do not peel or seed my tomatoes, just pack them raw
Tomato juice (you could also use hot water)
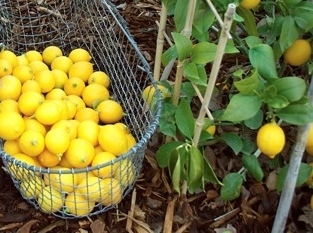
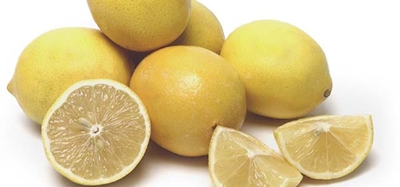
Lemons
Sea salt
Fresh herbs, optional

383374
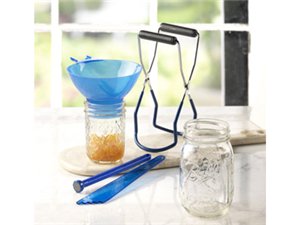
For Processing Tomatoes You will need:

  1. A stockpot or regular canner (tall enough so the jars are submerged by 2″ while processing)
  2. A rack for the bottom of the stockpot or canner
  3. Canning lifters (for jars & for lids), wide mouth funnel
  4. Canning jars, lids and screw bands
  5. Several clean tea towels
  6. Baking sheet

Place the rack in the bottom of your stockpot. Make sure to choose a deep enough pot so that the jars will be covered 2″ of water.

Fill the pot with water and begin to bring to a boil. Line a baking sheet with a clean tea towel.

Wash and dry the jars, lids and screw bands. Place lids into a small saucepan with hot water.

Prepare tomatoes by washing and lying out on a towel to air dry (they don’t have to be totally dry). If desired, cut tomatoes into quarters and set aside. I don’t peel or seed my tomatoes before packing as the skin comes right off when I take them out of the jar. If I don’t want to use the seeds, I simply strain them out.

Heat jars by placing them into the stockpot while you bring the water to a boil. Remove them to the cloth lined baking sheet when you are ready to fill with tomatoes. (The water in the stockpot should be boiling or very close to it).

Place one or two slices of lemon on the bottom of your jar.

Fill your jars with tomatoes, really squish them in there, and use a wooden spoon to smash them down. Add a sprinkle of sea salt and a tablespoon of lemon juice (from a real lemon). You can also add herbs such as basil, thyme or parsley. Using a plastic knife or chopstick, slide it down the side of the jar removing any air bubbles. Add tomato juice to cover the tomatoes and a slice of lemon at the top of the jar before sealing. Leave a 1/2″ headspace.

IMG_0807Wipe the top of the jar, removing any debris from the screw area and the top of the jar. Place the lid and the screw top on the jar, closing only finger tight, and place on the rack in the canner or stockpot. Make sure the jars are covered by 2″ water, bring to a boil and time for 40 minutes (for pints) or 45 (for qts). The water must be boiling the entire 40 minutes or you’ll need to restart the timer from the beginning. Remove to a cloth lined baking sheet and let cool for 24 hours before moving.

After 24 hours, if the center of the lid still moves up and down the jar has not sealed properly. You can reprocess this jar once or just put it in the refrigerator and use within a few days.

Related Posts Plugin for WordPress, Blogger...
2 Comments
Share
  • Pin it
  • Share
  • Tweet
  • Share
  • Email
Deb

Meet Chef Debbi

READ BIO

Join-Us Sign up for our newsletter to receive exclusive tips 'n tricks, and special offers on classes, tours, and more!

Recent Posts

  • Merry Christmas
  • Thanksgiving Feast
  • Farm, Food & Wine Tour 2022
  • Osso Buco
  • New Classes 2022

Categories

BookCUT

What's in Your Pantry?

How to stock your pantry to create delicious dishes.

Learn Chef Debbi's pantry essentials and how to substitute ingredients for pantry staples in her basic recipes for quick and easy meals.
BUY BOOK>

FacebookTwitterInstagramGooglepinterest


© 2014, DEB'S KITCHEN
Angie Makes Feminine WordPress Themes