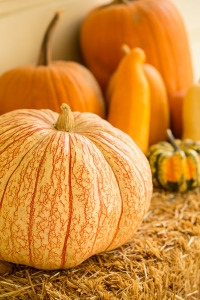
You don’t want to use just any kind of pumpkin for puree, most pumpkins have too much water in them and not enough flavor. Use the small pumpkins known as sugar or pie pumpkins. Or better yet use butternut squash, cooked in the same manner as a pumpkin, butternut squash will give a richer, deeper flavor. The cooked pulp can be stored in the refrigerator for up to a week or can be frozen. Use the squash for pumpkin pie, cakes or for a soup, it can be used in any recipe calling for pumpkin puree.

Preheat the oven to 400°. Line a sheet pan with parchment paper or tin foil.
Wash and dry the squash, slice the top off and cut the pumpkin in half, from the top to the bottom.
Do not remove the seeds and pulp, they will be easy to scoop out after the squash has cooked.
Brush the flesh of each half of the pumpkin with olive oil (or any kind of cooking oil) and place face down on the baking sheet.
Roast for about 40 – 50 minutes, until fork-tender or until a paring knife slips right through the flesh. Let cool for about 10 minutes then scoop out the seeds and the pulp, discard, and then scoop out the cooked flesh.
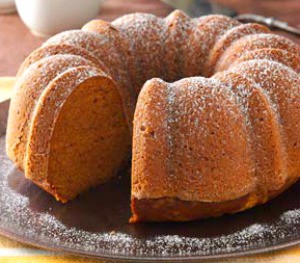
Blend or puree in a food processor until smooth. Store in the refrigerator for up to a week or freeze up to 3 months.
Photo: Davison Orchards Ltd.