Deb's Kitchen - Farm, Food, Wine & Lifestyle Adventures
  • Facebook
  • Google
  • Twitter
  • Instagram
  • Pinterest
  • Email
Menu
Skip to content
  • Home
  • Blog
  • Events
    • Classes
    • Tours & Adventures
  • Edible Gardening
  • Preserving
  • Recipes
    • Appetizers
    • Soups and Salads
    • Main Dishes
    • Side Dishes
    • Desserts
  • About
    • Whats In Your Pantry
    • Ask Debbi
    • Deb’s Kitchen Botanicals
    • Press
  • Contact

Tag Archives: tomatoes

Tomato Confit

6 / 11 / 166 / 12 / 16

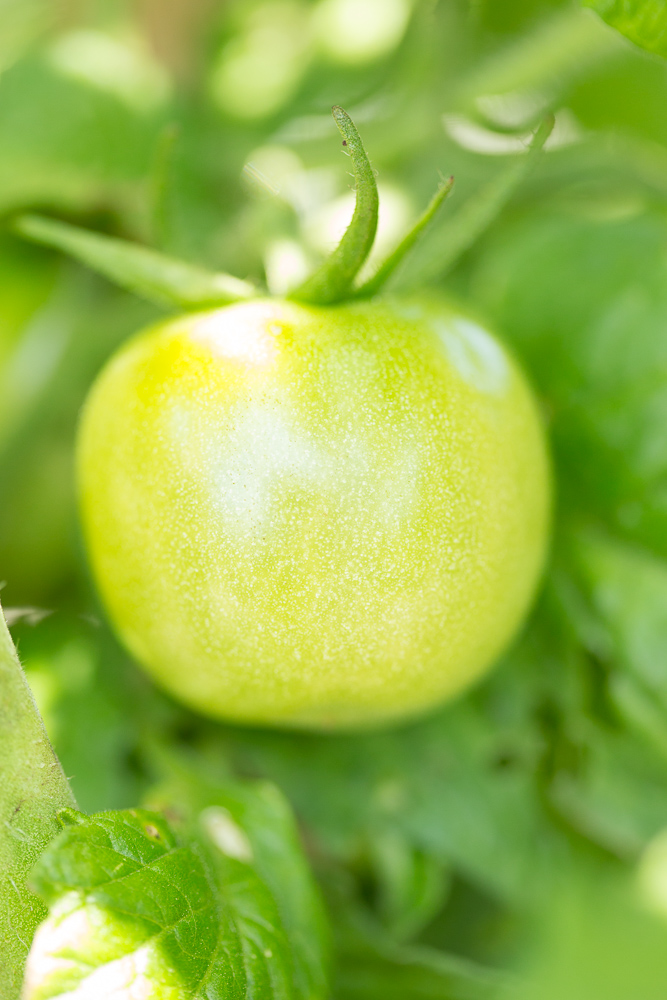
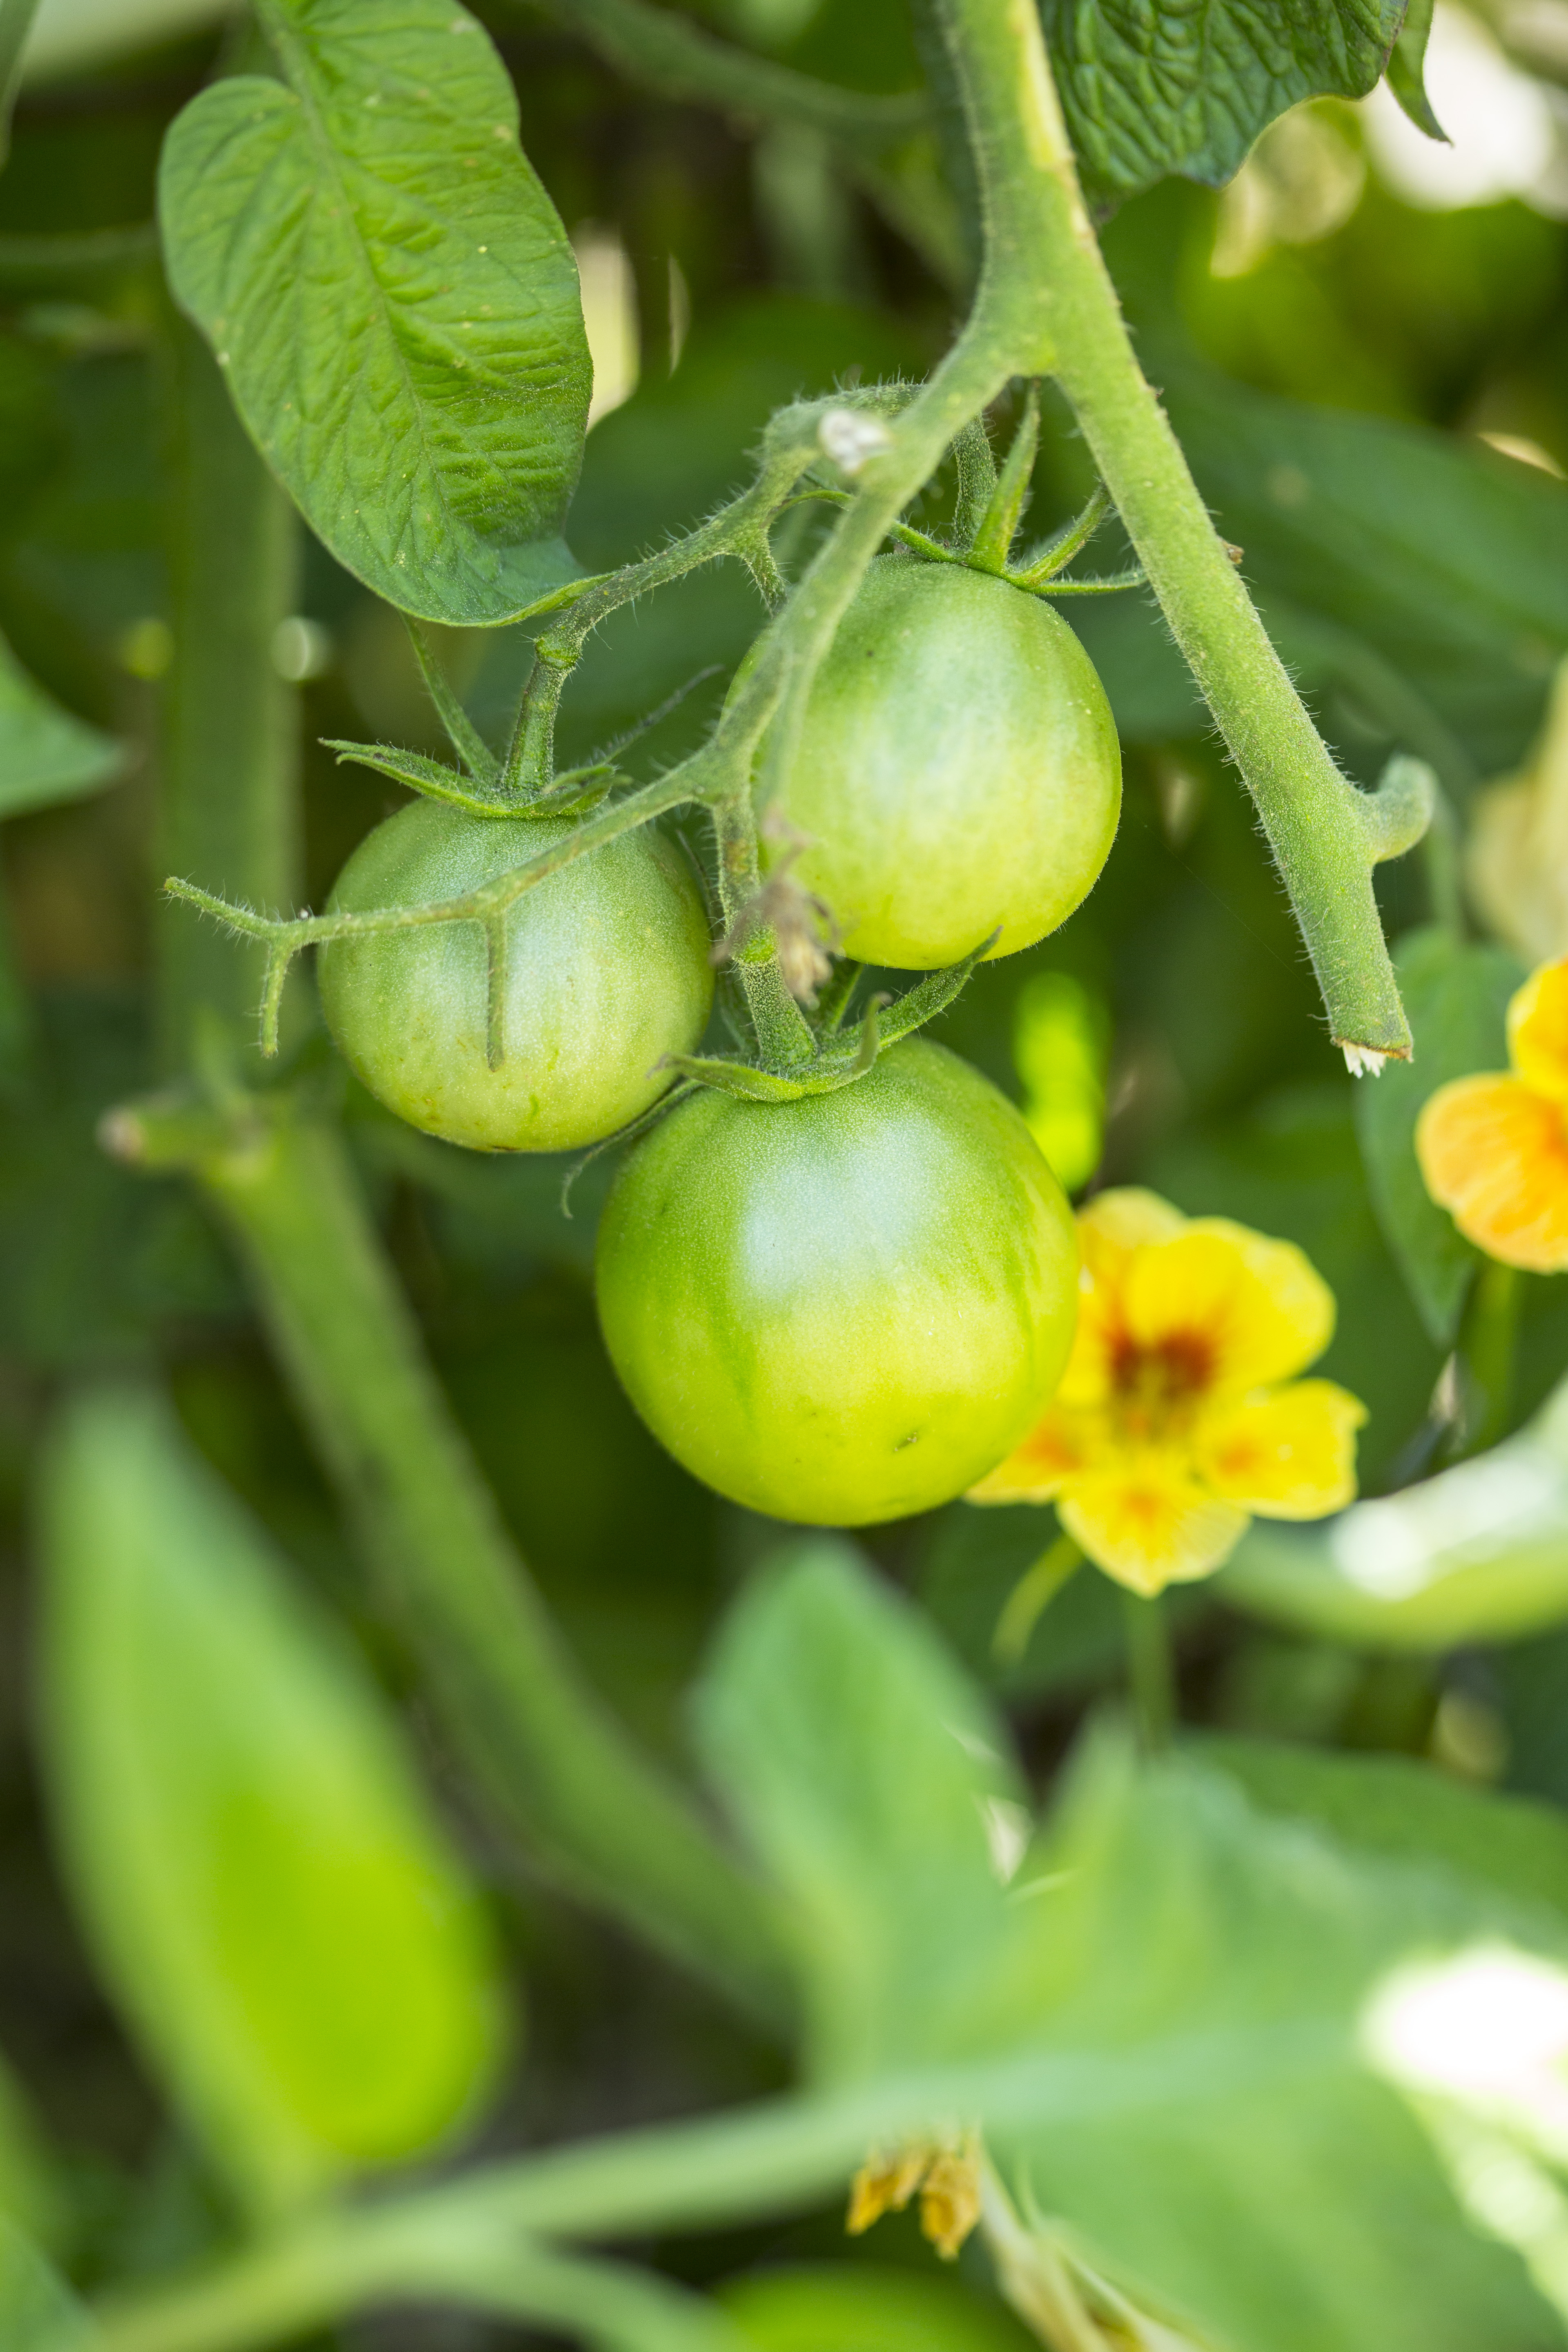
Is your garden overflowing with tomatoes? I always grow too many and one of my favorite ways to make them go a little farther is to oven dry them. Much like sun dried, these concentrated gems pack a powerful punch and can be used in any dish where you’d use tomatoes. Especially nice on a cheese plate with some creamy goat cheese nearby.

tomatoconfit-chez pim 2006


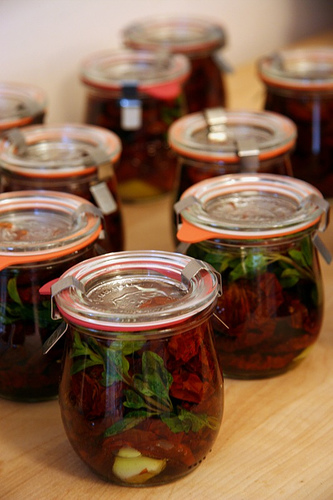
To preserve them I turn them into a tomato confit and keep in my ‘pantry’ refrigerator. They can’t be water bath canned because of the oil, but they will keep for about 6 months in the refrigerator, if they last that long. The refrigeration will also help to preserve the oil and keep it from going rancid quicker. Use only fresh organic herbs and make sure you wash and dry them very well, you don’t want any water going into your beautiful confit.

Mangia (Eat!)

Save
Print
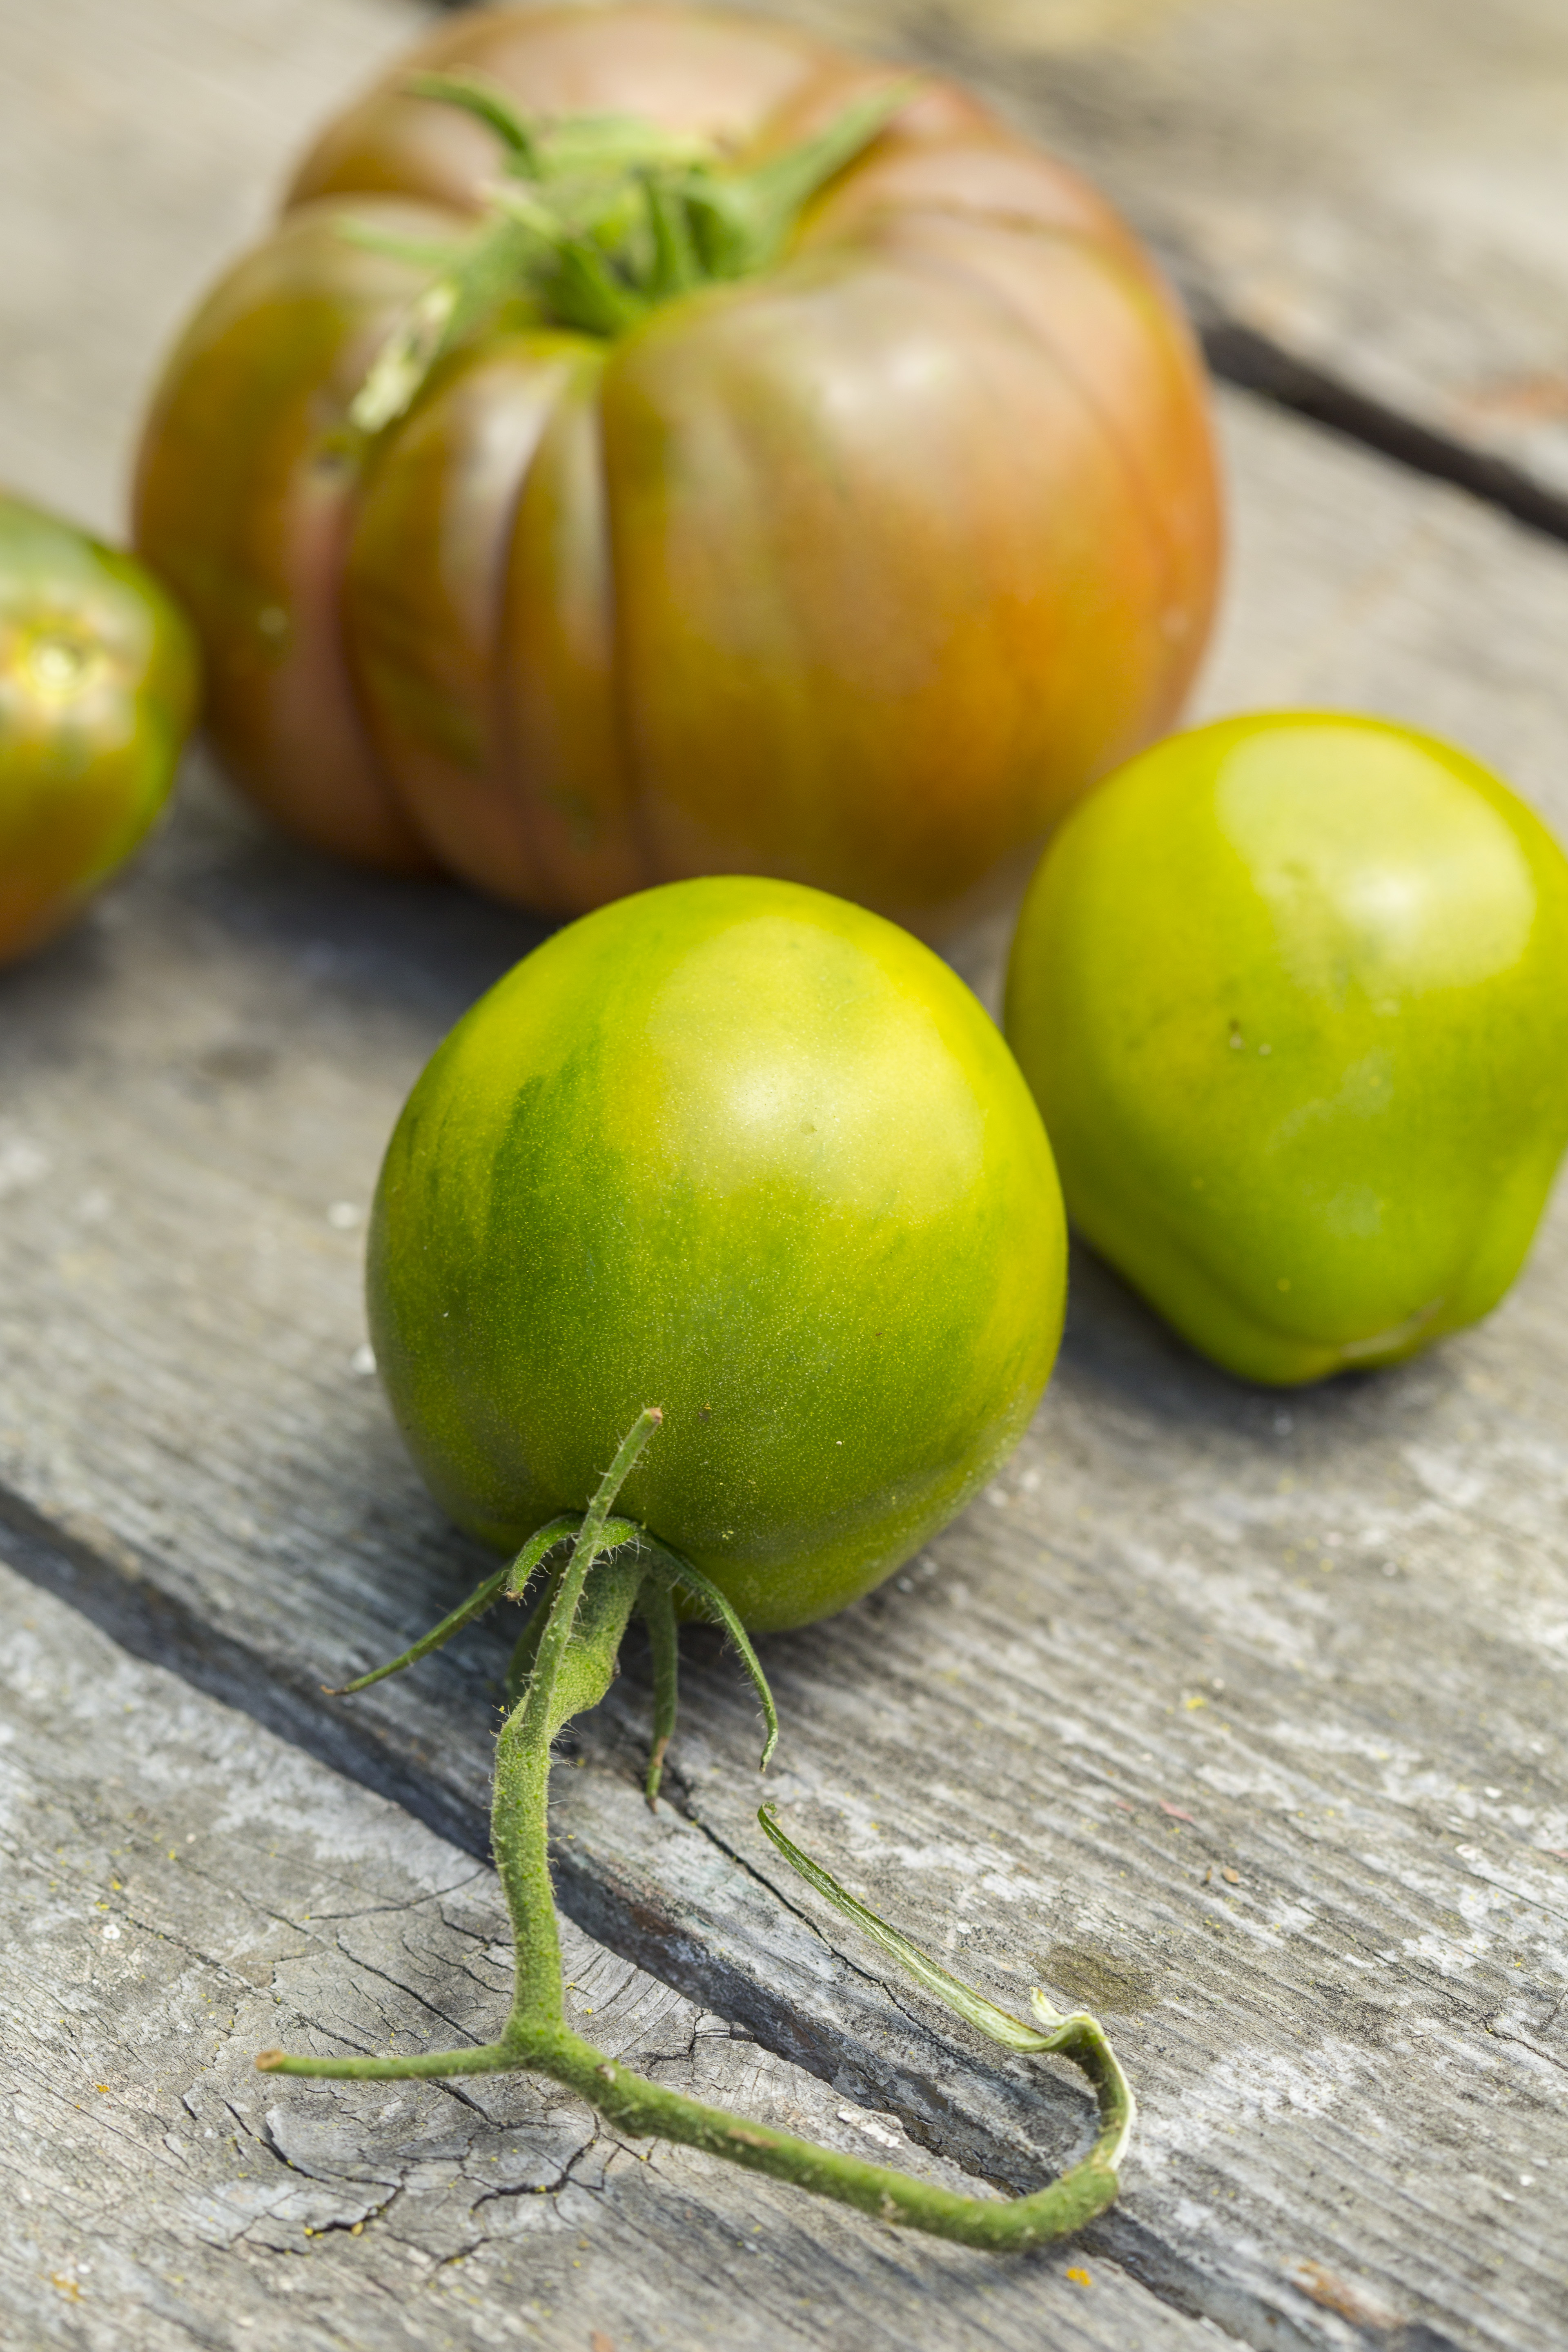
  • 1 pound tomatoes, cut in half lengthwise
  • Sea salt and freshly ground black pepper
  • 1/4 cup olive oil, approximately
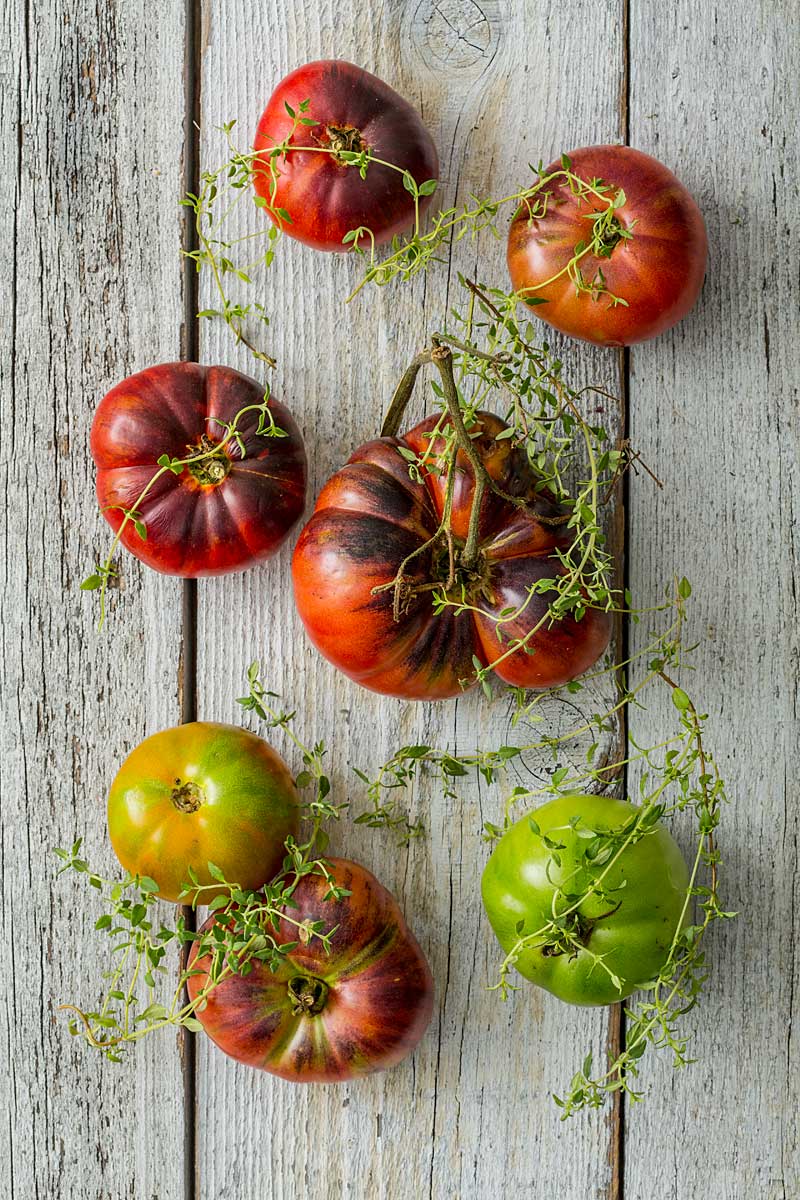
  • 1 tablespoon basil, chiffonade
  • 2 teaspoon fresh thyme
  • 1 clove garlic -- minced

Preheat the oven to 350°.

Arrange the tomato halves cut side up and close together on a baking sheet, season with salt and pepper.

In a bowl, combine olive oil, garlic, and herbs. Drizzle over tomatoes and bake until the tomatoes are soft and shriveled but still retain some moisture, 1-2 hours or more.

Let cool completely. Tomatoes can be stored in a glass jar, cover tomatoes with olive oil, add a fresh sprig of thyme, seal and refrigerate.

Photo: Chez Pim

Leave a comment
Share
  • Pin it
  • Share
  • Tweet
  • Share
  • Email

March Cooking Class

3 / 15 / 163 / 15 / 16

TOOC LOGO

Demo Cooking Class

We still have some spaces for our March 24th class! Sign up today!

March Menu

Leek, Goat Cheese & Olive Tart-Bill Granger

Leek Tart with Goat Cheese & Olives

Pork Scallopini with Leek Caper Vinaigrette

Olive Oil & Herb Roasted Winter Vegetables

Wild Mushroom Bread Pudding

Sea Salt Caramel Apple Cake in a Jar

Class Dates:

Seal Beach Tasting Room

Thursday, March 10th  SOLD OUT!

Catch the same menu on Thurs. March 24th

6:30-8:30, approximately

Call (562) 296-5421 for reservations

Header

Temecula Tasting Room

Saturday, March 12th 12 – 2, approximately

Call (866) 654-8396 for reservations

Photo: Bill Granger’s Leek Tart

Leave a comment
Share
  • Pin it
  • Share
  • Tweet
  • Share
  • Email

Easy Pizza Margherita

2 / 2 / 162 / 2 / 16

Pasolivo Pizza


Pizza, Flatbread & Calzone

Save
Print

Makes 2 flatbreads

*Stir the flour with a table knife to lighten the flour; it becomes compacted as it rests. Dip your measuring cup into the flour and use the knife to sweep the excess flour off the top of the cup. According to King Arthur Flour it should weigh 4 ¼ ounces.
Dough recipe adapted from ‘Artisan Bread in 5 Minutes a Day’

Sauce recipe will yield 2 cups and hold for several days. Adapted from Sunset Magazine

  • 1 ½ cups lukewarm water
  • 1 packet granulated yeast, 2 ¼ teaspoons
  • ½ teaspoon sea salt
  • 3 ¼ cups King Arthur unbleached white flour, measured with the scoop and sweep method*
  • Sauce:
  • 2 tablespoons olive oil
  • ½ small onion, chopped
  • 2 small cloves garlic, minced
  • 1 pound fresh tomatoes, quartered or 1 lg. can whole or crushed tomatoes
  • 1 small can tomato paste
  • 2 teaspoons dried oregano
  • 1 teaspoon dried thyme
  • 1 granulated sugar or more as needed
  • 2 tablespoons chopped fresh basil
  • Sea Salt and fresh pepper, to taste
  • Pinch crushed red pepper flakes (optional)
  • Pizza Margherita Topping
  • Sauce
  • Mozzarella, torn into pieces
  • Fresh basil, torn into pieces

Dough: (Make at least 1 day up to 5 days ahead of time)

The water should be warm to the touch but not more than 110°, and add the yeast to the water.

Add salt to the flour and whisk to distribute using a large bowl or a plastic food container with lid. Add the water to the flour all at once and mix with a wooden spoon or wet hands, the dough will be sticky. No kneading is necessary.

Loosely cover with lid and let stand at room temperature approximately 2 hrs. The dough can rise longer, up to 5 hours without affecting the results. The dough is easier to handle if you can make it the night before and refrigerate overnight.

Working on a lightly floured surface, pinch off a palm sized piece of dough, shape into a round, rectangular or square shape. Dough is sticky so keep some extra flour nearby, dust your hands as necessary to shape the dough. If the dough starts to snap back you should let it rest for a few minutes and then resume shaping. I use a rolling pin to thin the dough out to my desired style

Place onto parchment paper, a dusted pizza peel or the bottom of a dusted baking sheet. You can use anything you want providing the pizza can slip right off onto the rack.

If you are baking in an oven, preheat your oven to 500° or as high as it will go. Top the dough with anything you like, slid it into the hot oven and bake for 12-14 minutes.

Sauce:

Heat a deep saucepan big enough to hold all the ingredients, add the oil and onions and sauté until translucent. Add the garlic and stir briefly.

Place all the ingredients along with the garlic and onions into a blender, or use an immersion blender and puree.

Ladle or spoon onto pizza dough leaving an clean edge around the outside of the dough. Sprinkle or place the cheese on top and bake on a hot pizza stone for about 6-8 minutes, checking frequently. Sprinkle with fresh basil and let rest for a minute or two before slicing. Mangia!

Leave a comment
Share
  • Pin it
  • Share
  • Tweet
  • Share
  • Email

Harvesting Tomatoes

9 / 7 / 159 / 8 / 15

This was a great year for tomatoes! My early tomatoes are giving it one last push before they succumb and my late (heirloom) tomato bushes are full with big beautiful green tomatoes. What we haven’t been able to eat (and share) I’ve been freezing for later use. Remember I told you how to freeze them? Just plop the whole or cut up tomato on a baking sheet and put in the freezer until frozen solid, then put them into a freezer bag or other container and put back in the freezer. This allows you to pick out however many tomatoes you need at a time and no need to peel before freezing. As they defrost the skin will slip right off and if you want to remove the seeds just cut in half as usual and squeeze out the seeds.

Here are some beautiful photos that my friend Christina Peters shot of my tomatoes this year and a beautiful Tomato Sauce from Marcella Hazan.


Debs Garden-4591Heirloom Tomatoes Growing-5461Heirloom Tomatoes-5529Heirloom-Tomatoes-6086

2 Comments
Share
  • Pin it
  • Share
  • Tweet
  • Share
  • Email

Marcella Hazan’s Tomato Sauce

9 / 7 / 15

Heirloom-Tomatoes-6086


Marcella Hazan’s Tomato Sauce

Save
Print

Serves 6, enough to sauce 1 to 1 1/2 pounds pasta

  • 2 pounds tomatoes, or 2 cups canned imported Italian tomatoes, cut up, with juice
  • 5 tablespoons butter
  • 1 medium onion, peeled and cut in half
  • Salt to taste

Combine the tomatoes and juice in a saucepan, add the butter, onion, and a pinch of salt.

Place over medium heat and bring to a simmer. Cook, uncovered, for about 45 minutes. Stir occasionally, mashing any large pieces of tomato with a spoon. Add salt as needed.

Discard the onion before tossing the sauce with pasta. Serve with freshly grated Parmigiano-Reggiano cheese for the table.

Leave a comment
Share
  • Pin it
  • Share
  • Tweet
  • Share
  • Email

Simple Cold Pasta Salad

8 / 18 / 15

On these dog days of summer, even here at the beach, this is one of my favorite go-to recipes. It’s quick and easy, you don’t have to turn on any heat, even to cook the pasta, and you can use bits and pieces of left overs from your refrigerator pantry.

Some of my typical summer refrigerator pantry items are, cheese, olives, tomatoes (home grown, of course), cucumbers, peppers and the like. Most often there will be some lemon chicken left over as well. All are perfect additions to this salad. First the pasta, no need to boil a big pot of water, we’ll use the microwave!

Summer Pasta Salad

Pour your dry pasta, something curly is best to hold all the wonderful dressing in it’s little nooks, into a microwave safe bowl. Cover with cool water by 1″, make sure the container is big enough that the water and pasta won’t boil over. You’ll want to cook your pasta for about 5 minutes longer than the directions guide you on the box. Test the pasta for doneness and cook a little longer if necessary. Drain well and rinse quickly with cool water. Do not add dressing to the warm pasta as it will just soak it all up and be mushy. Stir the pasta occasionally as it cools to keep it from sticking together. You could cook the pasta ahead of time and chill it before you  make the salad. If this is the case, toss the cooled pasta with a little olive oil before refrigerating. Now you’re ready to proceed with the salad.

In actuality, from this point on you could chop and dice almost anything you find in you refrigerator but here’s my stand by recipe.

Summer Pasta Salad

Save
Print
  • 1/4 cup red wine vinegar
  • 1 teaspoon Dijon mustard
  • 1/2 cup olive oil, approximately
  • Salt and pepper
  • 1 teaspoon garlic powder
  • 2 teaspoon fresh basil, torn
  • 1/2 cup diced cucumber
  • 1 pint cherry tomatoes, halved or quartered
  • 1/2 cup diced red bell pepper
  • 1/3 cup thinly sliced green onions
  • 1/4 cup sliced black olives
  • 1/2 cup crumbled or diced cheese, mozzarella, chedderella, goat cheese or any you prefer
  • 1 ½ cup cooked pasta

For dressing, mix together vinegar, Dijon, salt, pepper, and garlic powder and whisk until it comes together. While continually whisking slowly add olive oil to taste. Set aside.

Mix together remaining ingredients and toss with dressing. Serve cold.

Leave a comment
Share
  • Pin it
  • Share
  • Tweet
  • Share
  • Email

Summer Salads

6 / 29 / 156 / 29 / 15


Summer Nicoise

My summer pantry is usually a little lighter than my winter pantry as I use far more fresh ingredients, mostly from my kitchen garden. The French Nicoise Salad is one of my favorites and I like using whatever fresh veggies I find at the local farmers market or in my garden. As in most cases, the quality of ingredients that you use are directly reflected in the finished dish, therefore buy the best that you can afford. I use Italian tuna in olive oil; I love the Genova brand from Italy. Please don’t use all white tuna packed in water, as it has no flavor, better to leave it out. I drain most of the oil from the canned tuna, reserving it for use in making the salad dressing.

italiantuna_kalynskitchen

Another way to dress up the dish for a hot summer evening entree is to grill some fresh tuna or shrimp from your fishmonger. This recipe makes a beautifully plated salad for a buffet table but can be individually plated as well. Be creative and use what you have on hand.

Summer Nicoise Salad

Save
Print

This salad is great for adapting to whatever you find in your pantry and/or refrigerator. Left over vegetables from last night’s dinner work great; keep your pantry stocked with jars of olives, tuna, hearts of palm, baby corn or a myriad of other staples. Change the tuna; use bay shrimp, scallops, last nights chicken or steak. A great salad to stretch your creative talents!

  • Vinaigrette:
  • 1/4 cup red wine vinegar
  • 1 tablespoon Dijon mustard
  • 1 small shallot -- minced
  • 1 tablespoon Italian parsley -- chopped
  • Salt and pepper -- to taste
  • 3/4 cup olive oil, use drained oil from tuna and add more olive oil as needed
  • Salad:
  • 2 cans Italian tuna -- packed in olive oil, drained and flaked with a fork
  • Salt and pepper -- to taste
  • 1/4 pound haricot vert -- blanched, cooled and dried well
  • 4 new potatoes -- boiled
  • 2 medium plum tomatoes -- cut into quarters
  • 3 eggs, cooked~see recipe
  • 1/2 cup nicoise olives
  • 3 cups mixed baby greens

Make the vinaigrette:

In a large bowl make the vinaigrette by whisking together the vinegar and

Dijon mustard. Add shallot, parsley and salt and pepper. Drizzle olive oil, while whisking into vinegar mixture. Re-season if necessary.

Blanch the beans in boiling salted water, drain, and chill.

Cook the potatoes in salted water just until they are tender through, about 15 minutes. Drain. Peel them, if desired, as soon as they are cool enough to handle.

Hard boil eggs by covering eggs with cold water, bring to a boil, remove from heat, cover and time for 15 minutes, plunge into ice water and chill.

Drain tuna, leaving a small amount of oil clinging to fish, and reserving drained oil, flake tuna into a medium mixing bowl.

Toss mixed greens with enough vinaigrette to coat. Season with salt and pepper.

Plate salad by putting a mound of tuna in the center of the mixed greens and surround with remaining ingredients, drizzle a little dressing over vegetables and serve extra dressing on the side.

Save any remaining vinaigrette and store in glass jar, refrigerated for up to 4 weeks.

Leave a comment
Share
  • Pin it
  • Share
  • Tweet
  • Share
  • Email

Companion Planting

3 / 21 / 153 / 28 / 15

What is Companion Planting


Two or more plant types as to be beneficial to each other. Companion planting will help with pest control, higher yields, healthier soil and to keep weeds away.

Some flowers (marigolds, nasturtiums) can act as trap crops to attract insects away from vegetable crops. Aromatic herbs (basil, rosemary, lavender, sage) repel many insects away from more susceptible plants (tomatoes)

Umbel flowers, dill, fennel, parsley attract beneficial insects to the garden. The large flower heads provide a place where they beneficials can land and rest while they feed. Be sure to plant extra around the garden and let them go to seed. You may get some volunteers the next year (from all the seed flying around) but you can just dig those up and transplant them, free plants!

companion-plants-2Here are some classic combinations.

3 sisters, corn, beans, squash.  Plant corn and beans first, squash a couple of weeks later; beans feed nitrogen into the soil for both corn and squash, the squash leaves will protect the shallow roots of the corn and beans will grow up the corn stalks.

Basil and tomatoes are a classic example of companion planting. Plant carrots around the base of the tomatoes, they’ll be ready for harvest before the tomato plants go wild. No brassicas (cauliflower, broccoli, brussels sprouts) with tomatoes. No peppers or eggplant near or within the last year in the same spot. They are in the same family and can transfer soil born diseases.

Plant some of the umbel plants near tomatoes for help with hornworm which helps attract parasitic wasps and their larvae will feed on the hornworms.

Beans and potatoes.

While these grow together well don’t plant the beans near the corn as we talked about before. Another row of beans never hurt to have around so plant away from the squash and plant with potatoes. Potato doesn’t like squash, cucumbers or sunflowers.

Lettuce and radish

Both with tolerate less sun than 6 hrs. and the radish will be ready to harvest before lettuce starts getting big, neither one likes the heat.

Sunflowers & Pumpkins

A natural combination that get along well

Leave a comment
Share
  • Pin it
  • Share
  • Tweet
  • Share
  • Email

The Plant Stand~Jan

1 / 6 / 151 / 6 / 16

the plant stand logo

Rescheduled due to rain! See us on the 23rd

January 23rd, Sat

10 a.m.

Companion Planting

Spring Garden Planning

&

Companion Planting

Join us for a little talk and a tasty treat!

The Plant Stand
2972-A Century Place
Costa Mesa, California 92626-4324

(714) 966-0797

DKB-12

Leave a comment
Share
  • Pin it
  • Share
  • Tweet
  • Share
  • Email

Minestrone Soup

12 / 6 / 142 / 4 / 15

minestronesoup


Save
Print

This is my favorite cold weather soup, I love it with a little squeeze of lemon juice, it brightens up all the flavors in the soup. Served with a big chunk of homemade bread, it’s a meal all of it’s own. Make a big pot, the flavors get better the second day as it all marries together.

  • 2 tablespoons olive oil, approximately
  • 1/4 pound diced pancetta*
  • 1 medium onion, diced
  • 2 carrots, minced
  • 2 stalks celery, minced
  • 2 cloves garlic, minced
  • 1 tablespoon Italian parsley, minced
  • 1 can roma tomatoes, crushed, 15 oz.
  • 2 quarts chicken stock
  • 1 tablespoon Italian seasoning, crushed or ground, or as needed
  • 2 salt and pepper, to taste
  • 2 cups cooked mixed beans, red kidney, cannelini, black and borlotti
  • ¼ pound small pasta, cooked and cooled
  • 1 cup Swiss chard or spinach, chopped
  • 1 lemon, juiced, to taste
  • ½ cup pesto sauce or
  • 2 tablespoons Chef Debbi's Romano Herb Seasoning Mix**
  • Parmigianno-Reggiano, for garnish

Serves 6

Heat a Dutch oven over medium high heat. Add 1 tablespoon of oil; when hot add pancetta and sauté until lightly browned. If needed, add another tablespoons of oil and onions, carrots, celery; sauté until the vegetables are translucent, approximately 3 - 4 minutes. Stir in garlic and parsley and then add the tomatoes and chicken stock. Season to taste with Italian seasoning, salt and pepper; bring to a boil, then turn heat down to a simmer. Cook for 20 minutes.

If using canned beans, rinse and drain them before adding to the soup. Add Swiss chard or spinach to the soup and cook until slightly wilted. Add pasta and lemon juice, stir to mix well, adjust the seasoning and ladle into bowls.

Swirl a little pesto on top or Debbi's Romano herb mix and garnish with Parmigianno-Reggiano.

*Omit for vegetarian version

**Romano Herb Seasoning Mix available www.debskitchen.com

Leave a comment
Share
  • Pin it
  • Share
  • Tweet
  • Share
  • Email

Fall Tour 2014

12 / 4 / 1412 / 4 / 14

Farm Tour Fall 2014

Farmers Market-0041Farmers Market-0045Finger Lime-0030Halter Ranch-0441Jack Creek Farms-0760Rangeland-0338Windrose Farms Oct 2014-0484Windrose Farms Oct 2014-0549Windrose Farms Oct 2014-0554Windrose Farms Oct 2014-0665Windrose Farms Oct 2014-0726Cambria Tour-4848Cheesecakes-0099fall grapevines Halter Ranch 2011

Leave a comment
Share
  • Pin it
  • Share
  • Tweet
  • Share
  • Email

Paella

11 / 14 / 1412 / 14 / 14


Paella-0177


Paella

Save
Print
  • 1 package chicken thighs
  • 1/4 cup extra-virgin olive oil
  • Sea salt and freshly ground pepper
  • 1 shallot, minced or ½ onion, chopped
  • 2 cloves garlic, minced
  • 1 tablespoon flat-leaf parsley leaves, chopped, reserve some for garnish
  • ½ cup white wine
  • 1 (15-ounce) can whole tomatoes, drained and hand-crushed
  • 4 cups short grain Spanish rice
  • 6 cups stock, warmed with a generous pinch of saffron thread
  • 1 dozen littleneck clams, scrubbed
  • 1 pound jumbo shrimp, peeled and de-veined
  • 1-2 pound mussels
  • 1/2 cup sweet peas, frozen and thawed
  • Lemon wedges, for serving

Heat oil in a paella or sided sauté pan over medium-high heat. Add salt and freshly ground pepper to the chicken and brown skin-side down both sides. Remove from pan and reserve.

In the same pan, make a sofrito by sautéing the shallot, garlic, and parsley. Cook for 2 or 3 minutes on a medium heat. Add the wine and cook until it reduces some, about 5 minutes, stir in the rice and stir-fry to coat the grains. Add the crushed tomatoes and stock and simmer for 10 minutes, gently moving the pan around so the rice cooks evenly and absorbs the liquid. Add chicken, clams, mussels and shrimp, tucking them into the rice. Let the paella simmer, without stirring, until the rice is al dente, for about 10 minutes. During the last 5 minutes of cooking, when the rice is filling the pan add the peas.

Remove from heat and rest for 5 minutes. Garnish with parsley and lemon wedges.

Related Posts Plugin for WordPress, Blogger...
Leave a comment
Share
  • Pin it
  • Share
  • Tweet
  • Share
  • Email

Posts navigation

Previous Page 1 2 3 Next Page
Deb

Meet Chef Debbi

READ BIO

Join-Us Sign up for our newsletter to receive exclusive tips 'n tricks, and special offers on classes, tours, and more!

Recent Posts

  • New E-Book!
  • From the Pantry
  • Spaghettini at Home
  • Growing Corn
  • Spring IS Coming!

Categories

BookCUT

What's in Your Pantry?

How to stock your pantry to create delicious dishes.

Learn Chef Debbi's pantry essentials and how to substitute ingredients for pantry staples in her basic recipes for quick and easy meals.
BUY BOOK>

FacebookTwitterInstagramGooglepinterest


© 2014, DEB'S KITCHEN
Angie Makes Feminine WordPress Themes